Here is a list of common mistakes when making DIY EZScreen silk screen stencils and their solutions:
1 - Gray or color artwork
- It is critical to print opaque black artwork onto the transparency film. Color artwork or gray tones will cause the stencil to be over-exposed, as UV will pass right through and expose areas where it should be blocked. Only opaque black designs will result in a proper stencil.
2 - Printing artwork on paper
- Firstly, there are different types of paper and they will all require different exposure times. Because it is difficult to determine the exact exposure time depending on the paper that is being used, we do not recommend using it at all. Secondly, some paper will block UV exposure entirely and will not work to burn an EZScreen stencil. Use transparency film only.
3 - Not using the exposure unit provided on our website
- Many customers will try to save money by making their own exposure unit, however, this will create several problems. The clear exposure board in our exposure unit is made of non-UV blocking materials. Many pieces of glass or plexi contain UV blocking agents and will prevent the EZScreen stencil from being properly exposed. Also, a black board is required to be placed underneath the stencil during exposure to prevent any additional sunlight from exposing the underside.
4 - Not peeling the clear protective plastic from the stencil before exposure
-
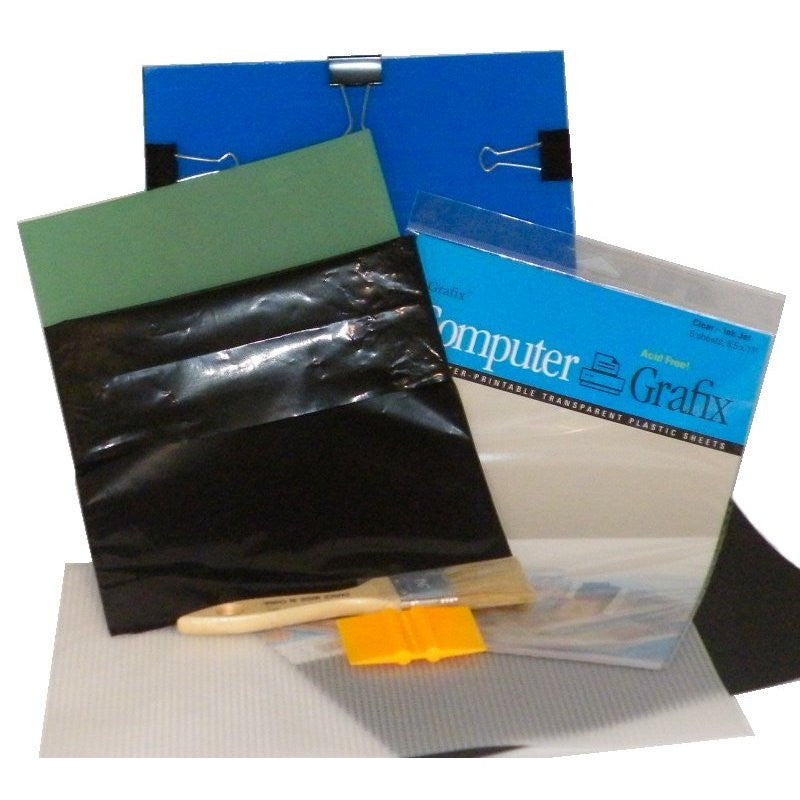
EZScreen stencils have a clear plastic attached to protect the emulsion. It is important to remove this plastic before burning to sunlight as it will prevent the emulsion from rinsing off during the soak process and block paint from passing through the stencil.
5 - Exposing the stencils on a cloudy day
- Yes, you can still get a tan when it's cloudy outside, however, clouds will prevent the EZScreen stencil from being properly exposed. Exposing the stencils in cloudy weather, in shady areas or inside through a window will result in under-exposure and the emulsion washing off in the soak process.
6 - Using artificial lights
- Some artificial lights will work to properly burn EZScreen DIY stencils. We have extensively tested two lights that are sold on our website and come with full exposure instructions. However, using your own artificial light may cause problems. We do not have exposure instructions for every light that is on the market. Because of this, the exposure time and distance from the stencil during exposure will need to be experimented by the customer. This will cause frustration if the perfect exposure time/distance is not figured out. We recommend using only direct sunlight or one of our tested artificial lights if sunlight is not obtainable.
7 - Not hardening the stencil
- After the EZScreen stencil has been exposed in direct sunlight and soaked in water for 10-15 minutes, make sure all the emulsion is removed in the design area (use a brush for any stubborn residue). After this process, it is important to lay the stencil back outside (shiny, emulsion side up facing the sun) to harden the stencil. This will make the emulsion permanent on the silk screen mesh. Blow drying the stencil is not equivalent to hardening it in the sun. When this step is skipped, the emulsion may peel or scratch off when it is being used with screen print ink or washed.
Note: We recommend using the small test pieces provided in every black bag before using an entire stencil. Print out your artwork onto transparency film, and place the small test piece over the most detailed part of the design. After the stencil has been burned, soaked, rinsed, and hardened, test it with ink/paint onto paper or a surface that can be discarded.

1 comment
Christin
How long does it take it to harden when you place it back outside? Average?