
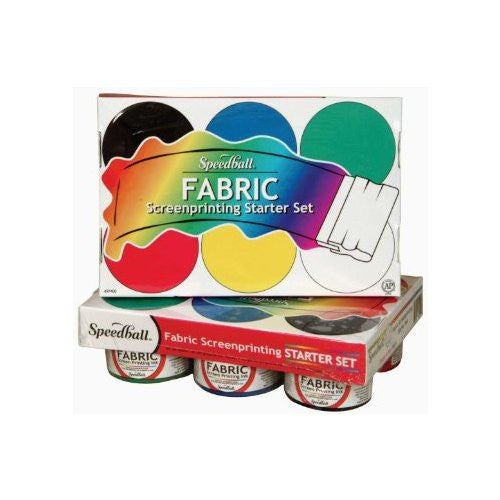
How To Make an EZScreen Stencil

Video Instructions
See a quick overview of the process here, then follow the detailed steps below.
Who is this guide for?
If you already purchased a Screen Printing Kit by EZScreen, or a package of EZScreens, follow the guide below.
If you are looking into screen printing or researching EZScreenPrint, check out our Buyer's Guide. You will find helpful information to help you choose a path.
What can I do with an EZScreen Stencil?
Print with a wide range of inks and paint:
- Ceramic underglaze
- Acrylic ink
- Plastisol and water based fabric inks
- Block printing ink
- Craft and hobby inks
- Enamels
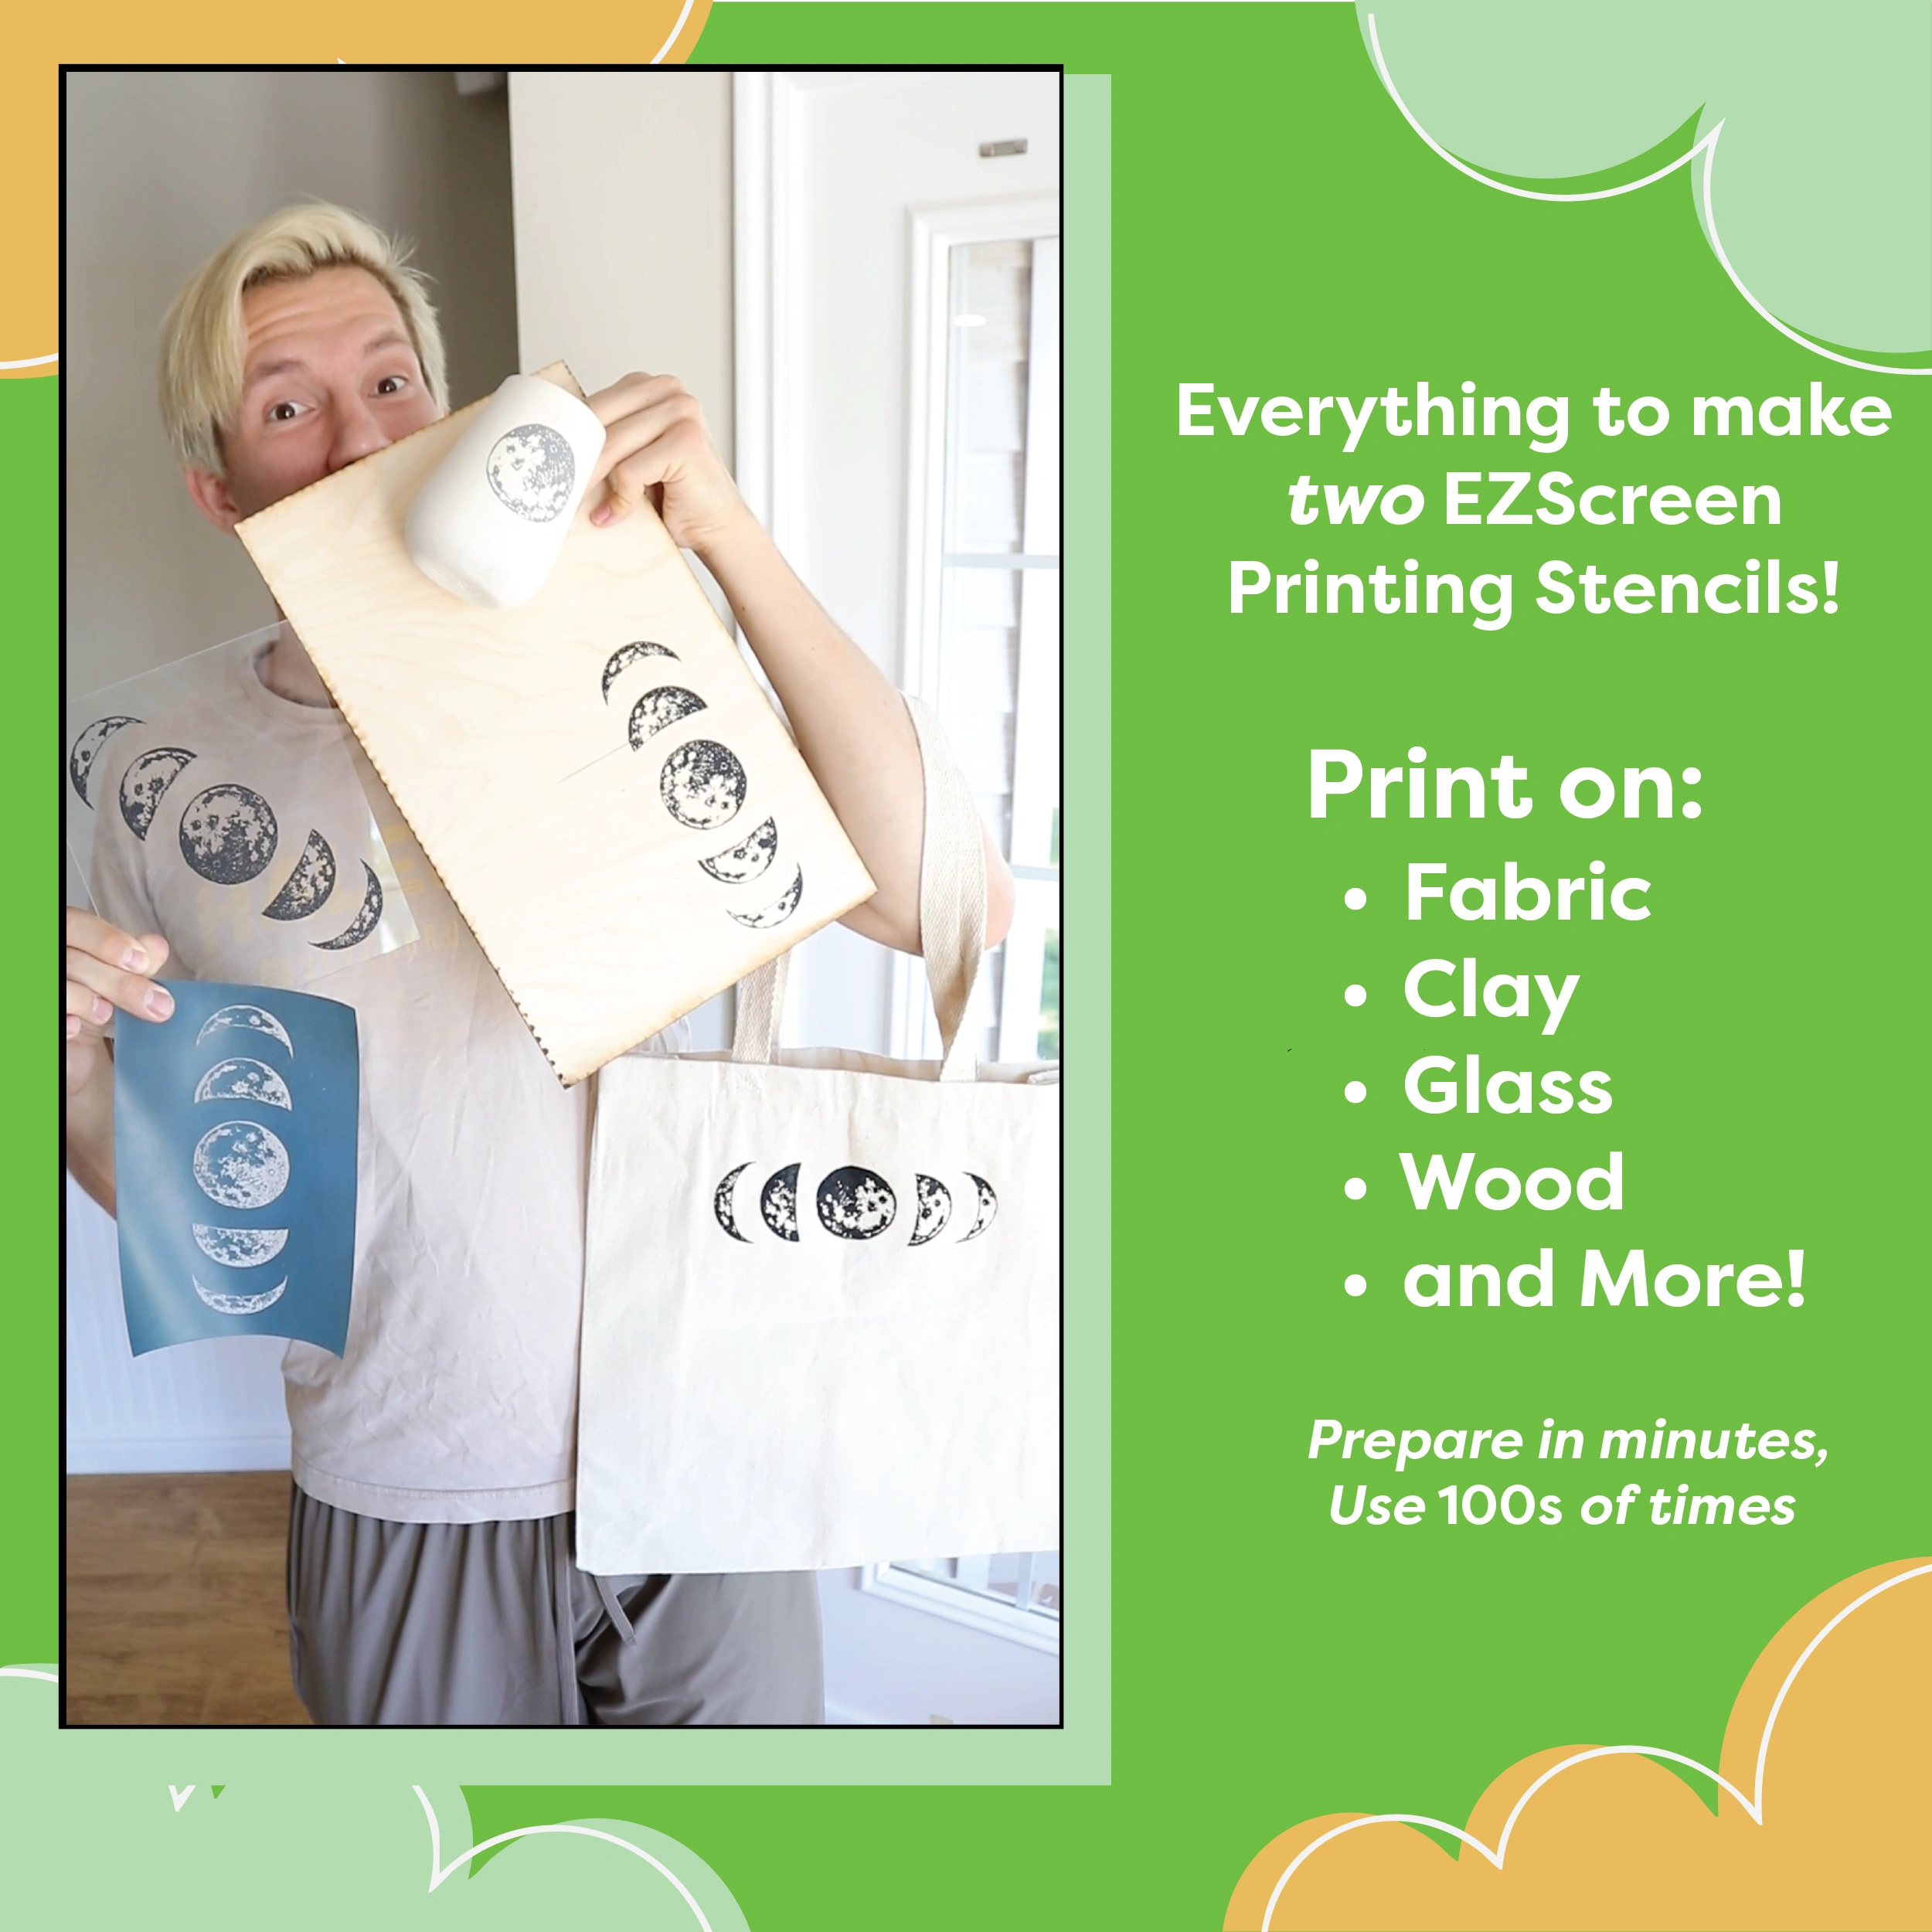
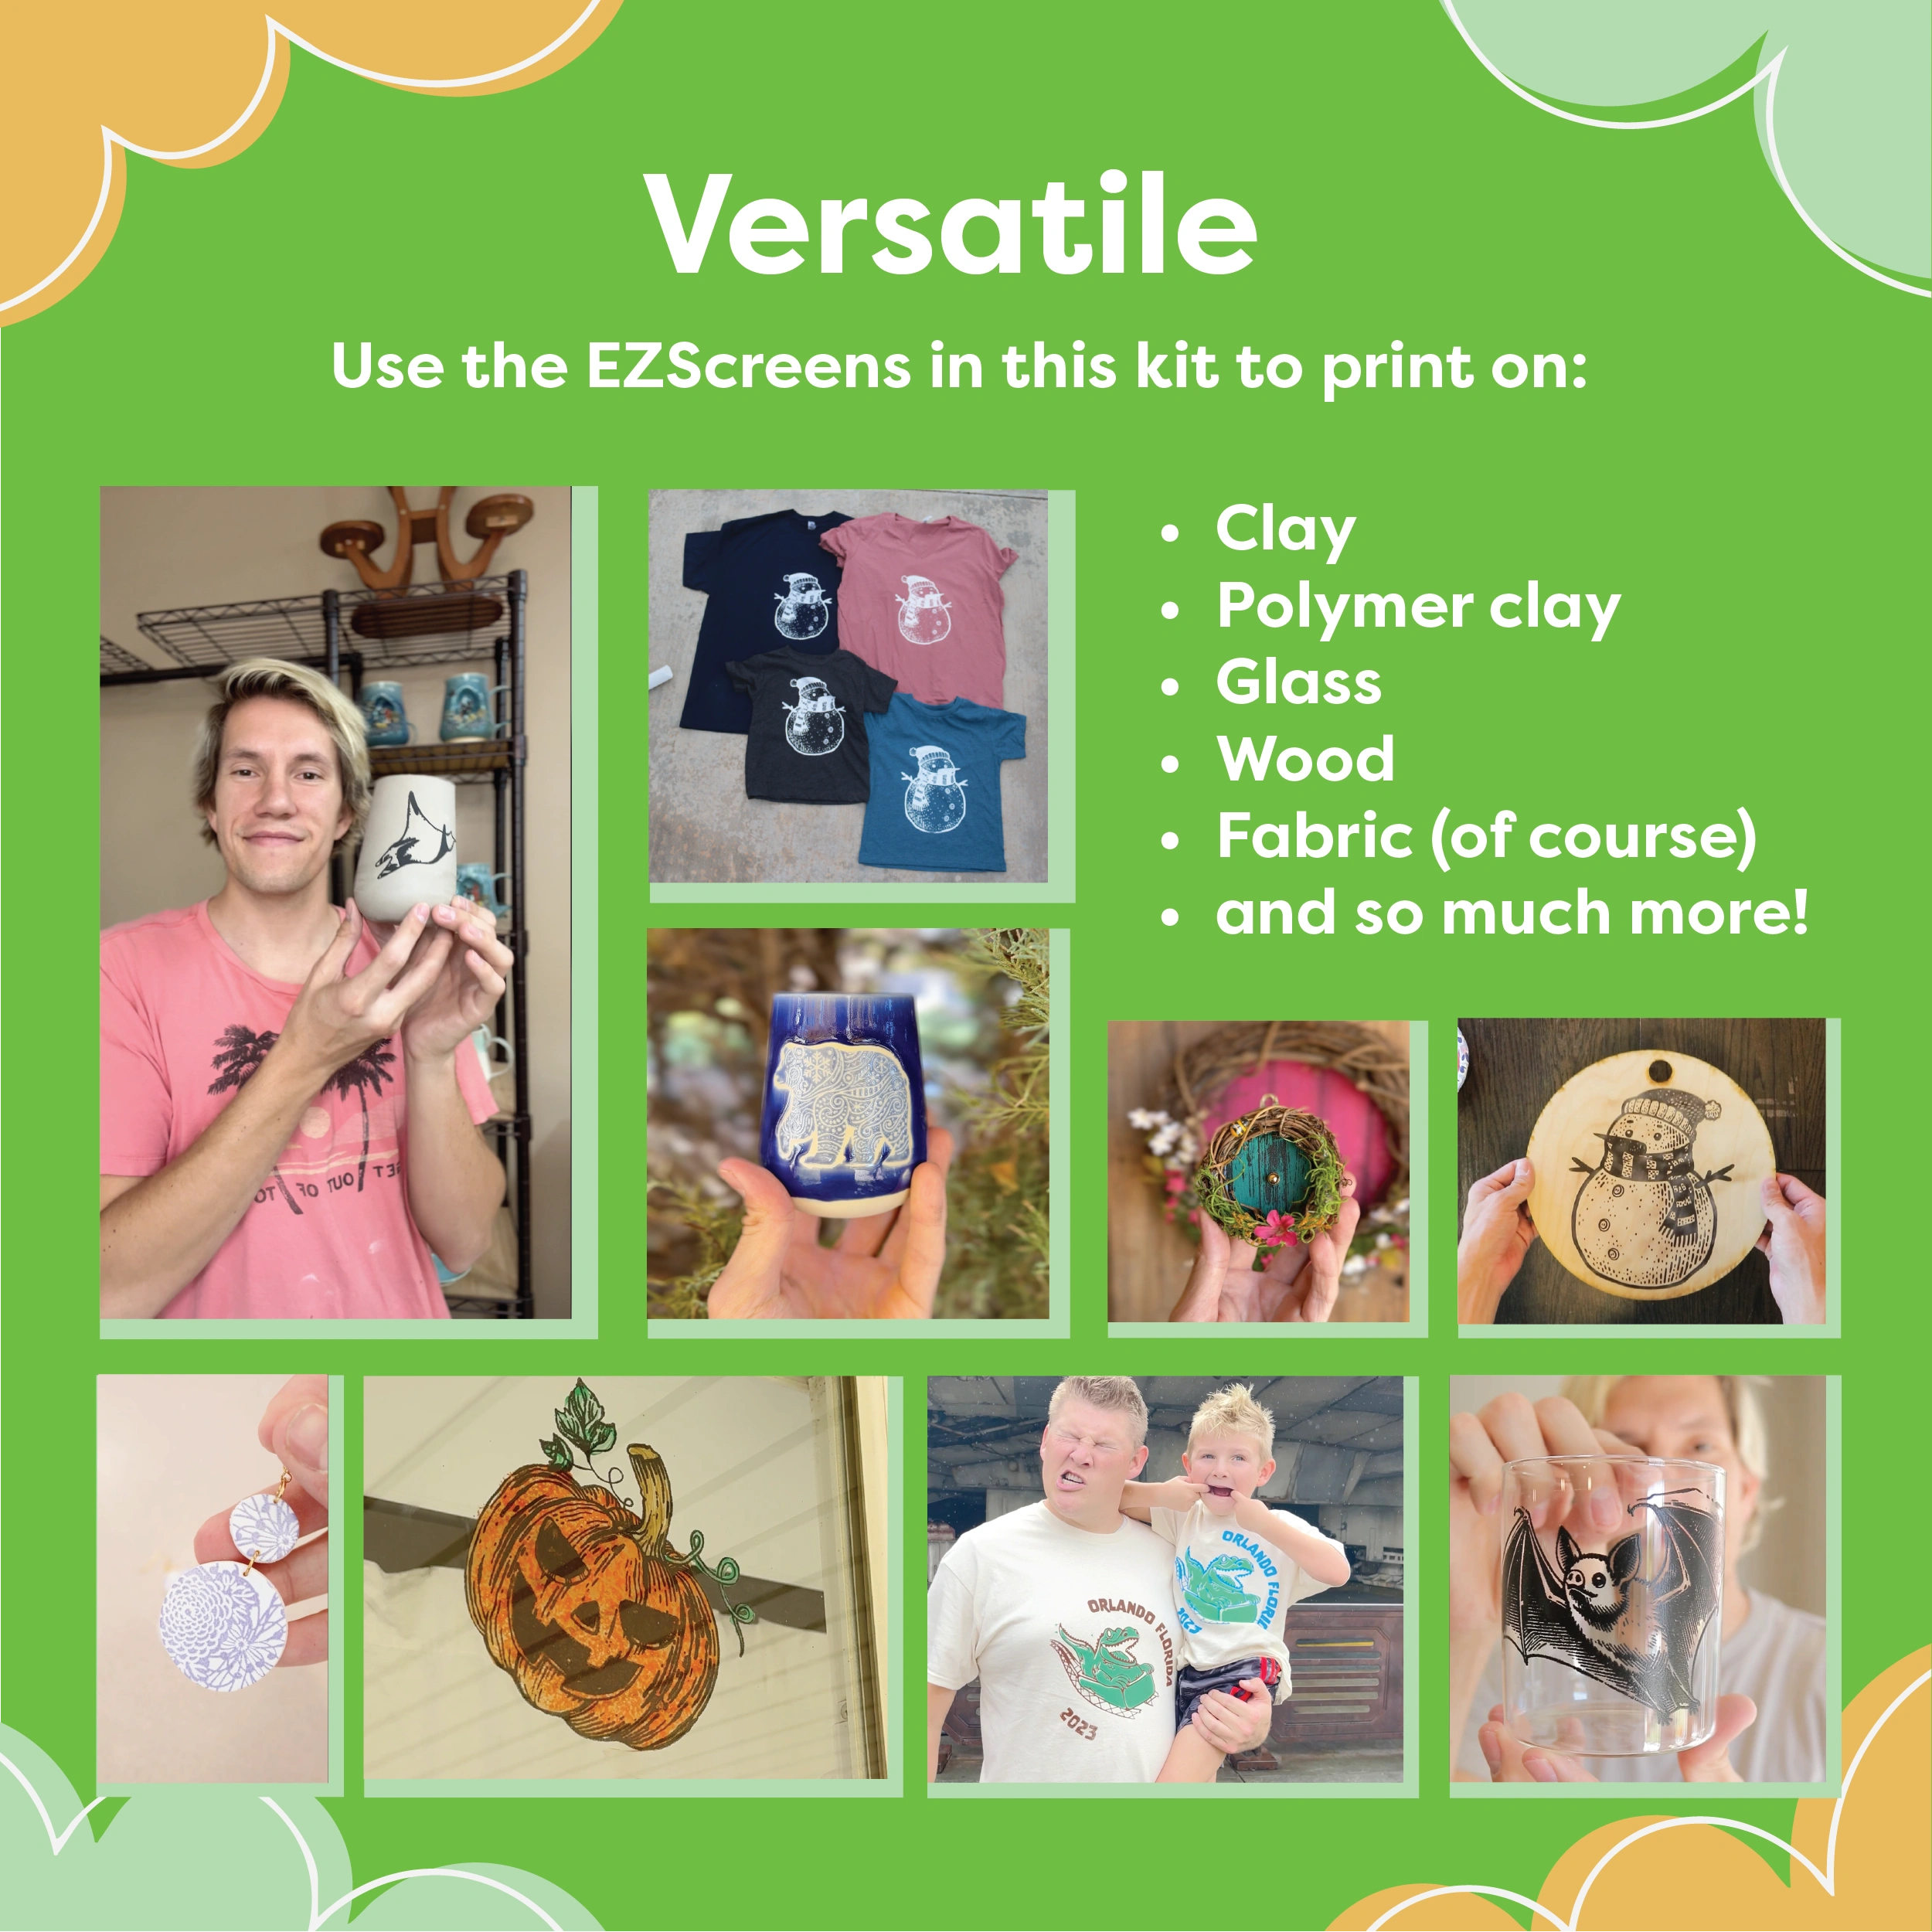
Use your finished EZScreen to print on fabric, wood, ceramics, glass, metal, and more.
EZScreens can print with
- Ceramic underglaze
- Acrylic ink
- Plastisol and water based fabric inks
- Block printing ink
- Craft and hobby inks
- Enamels
EZScreens can print on:
- Fabric
- Wood
- Ceramics
- Glass
- Metal
- And more
What will I need?
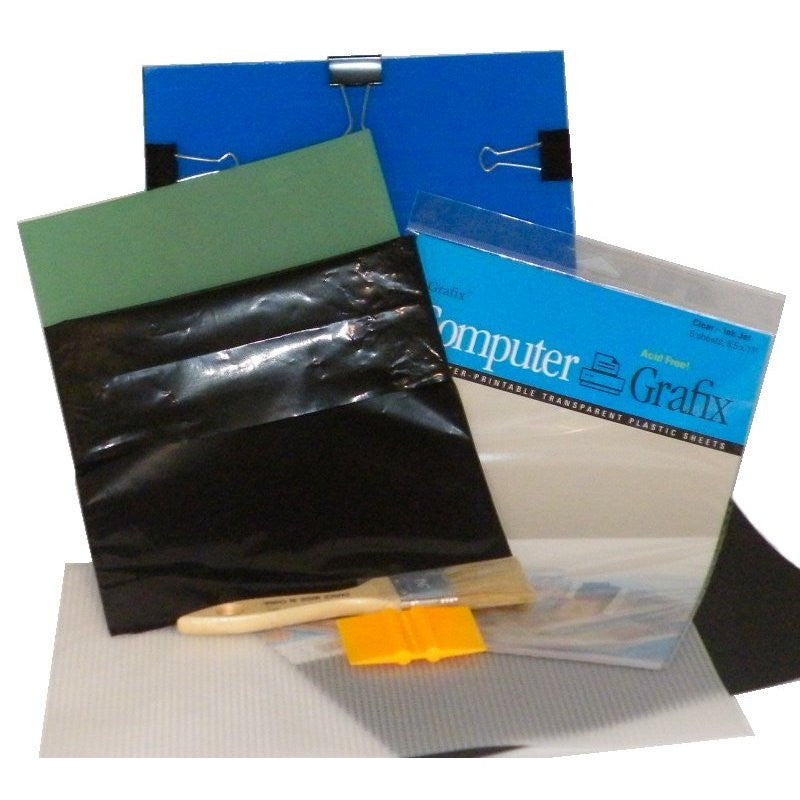
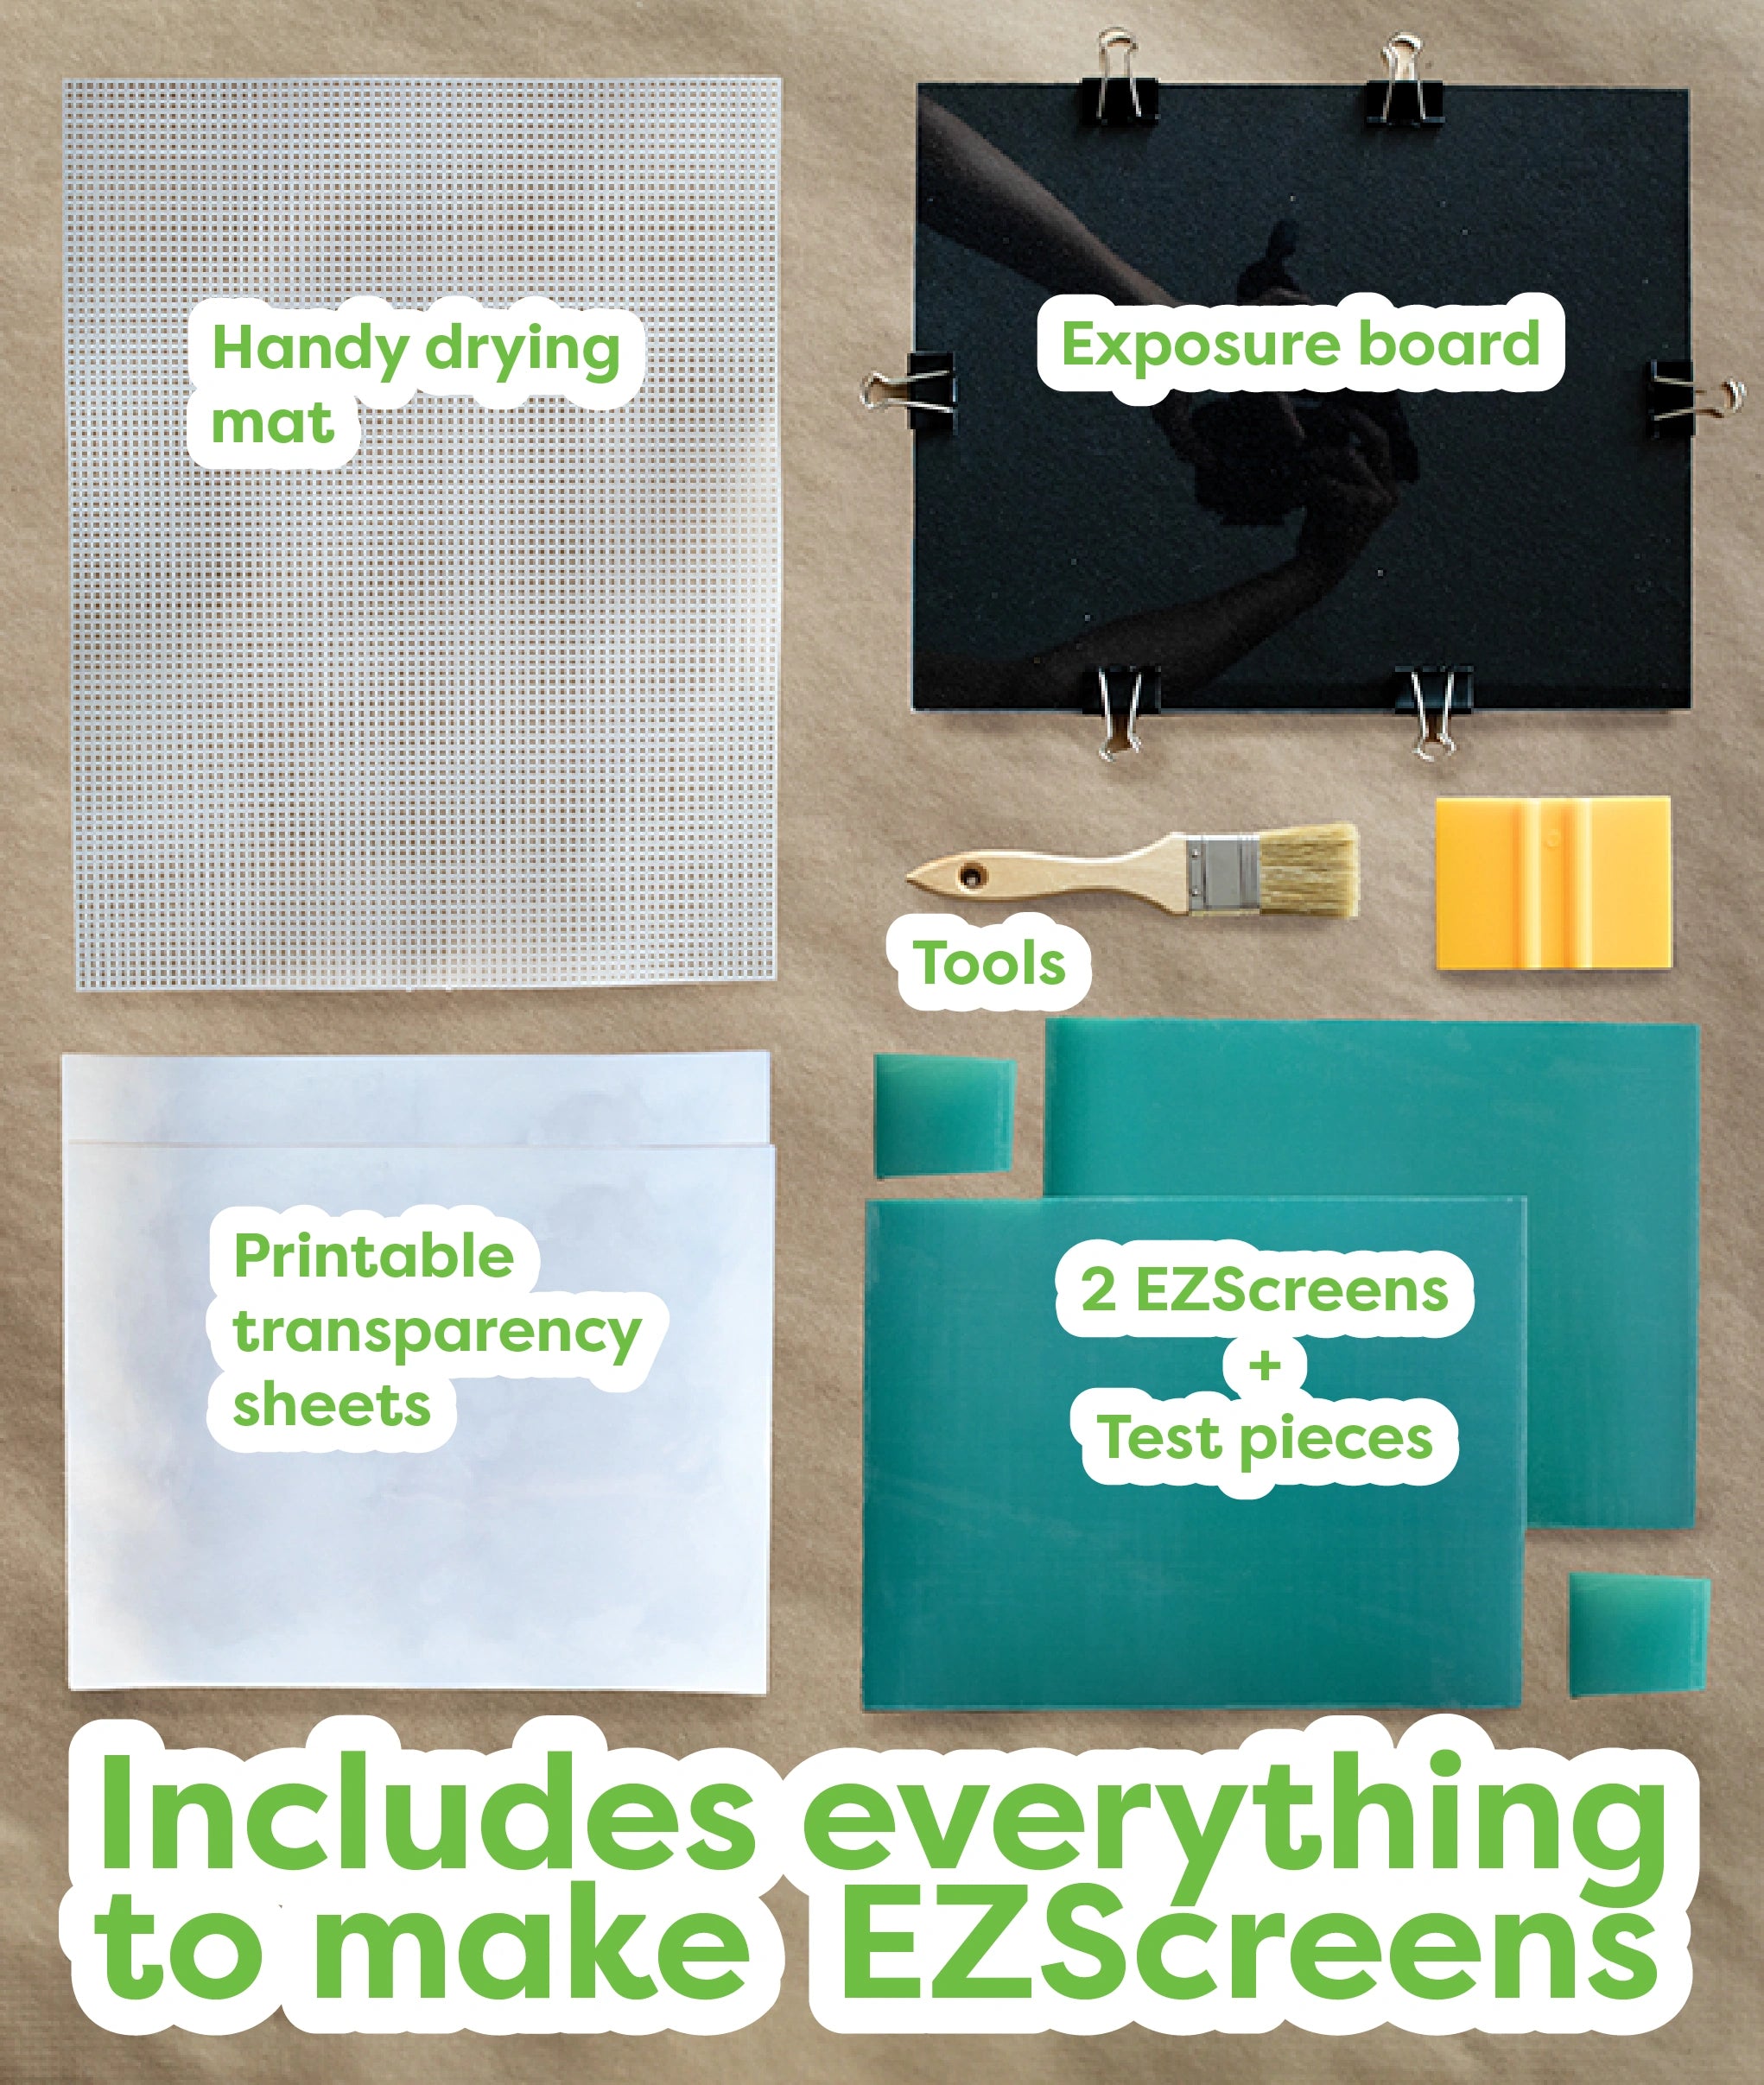
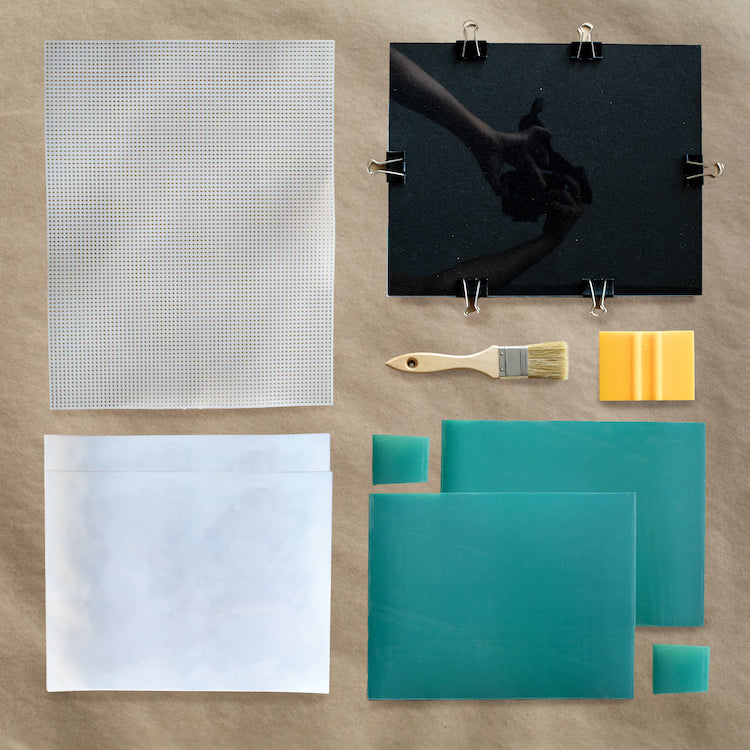
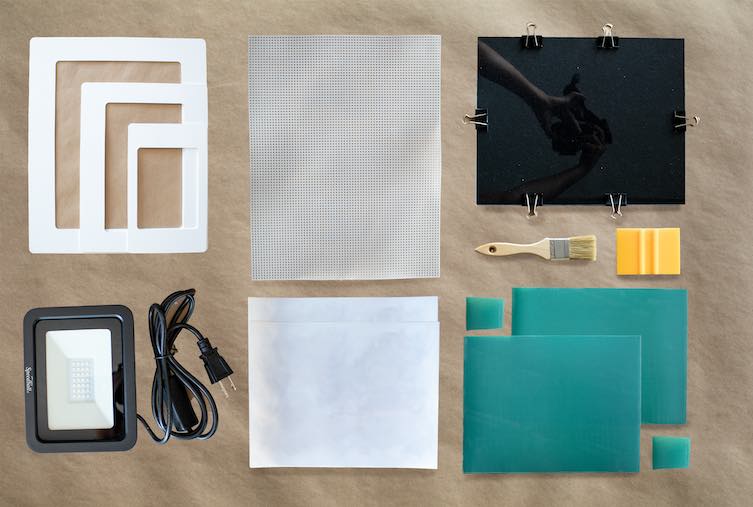
- Our Starter Screen Printing Kit or exposure unit
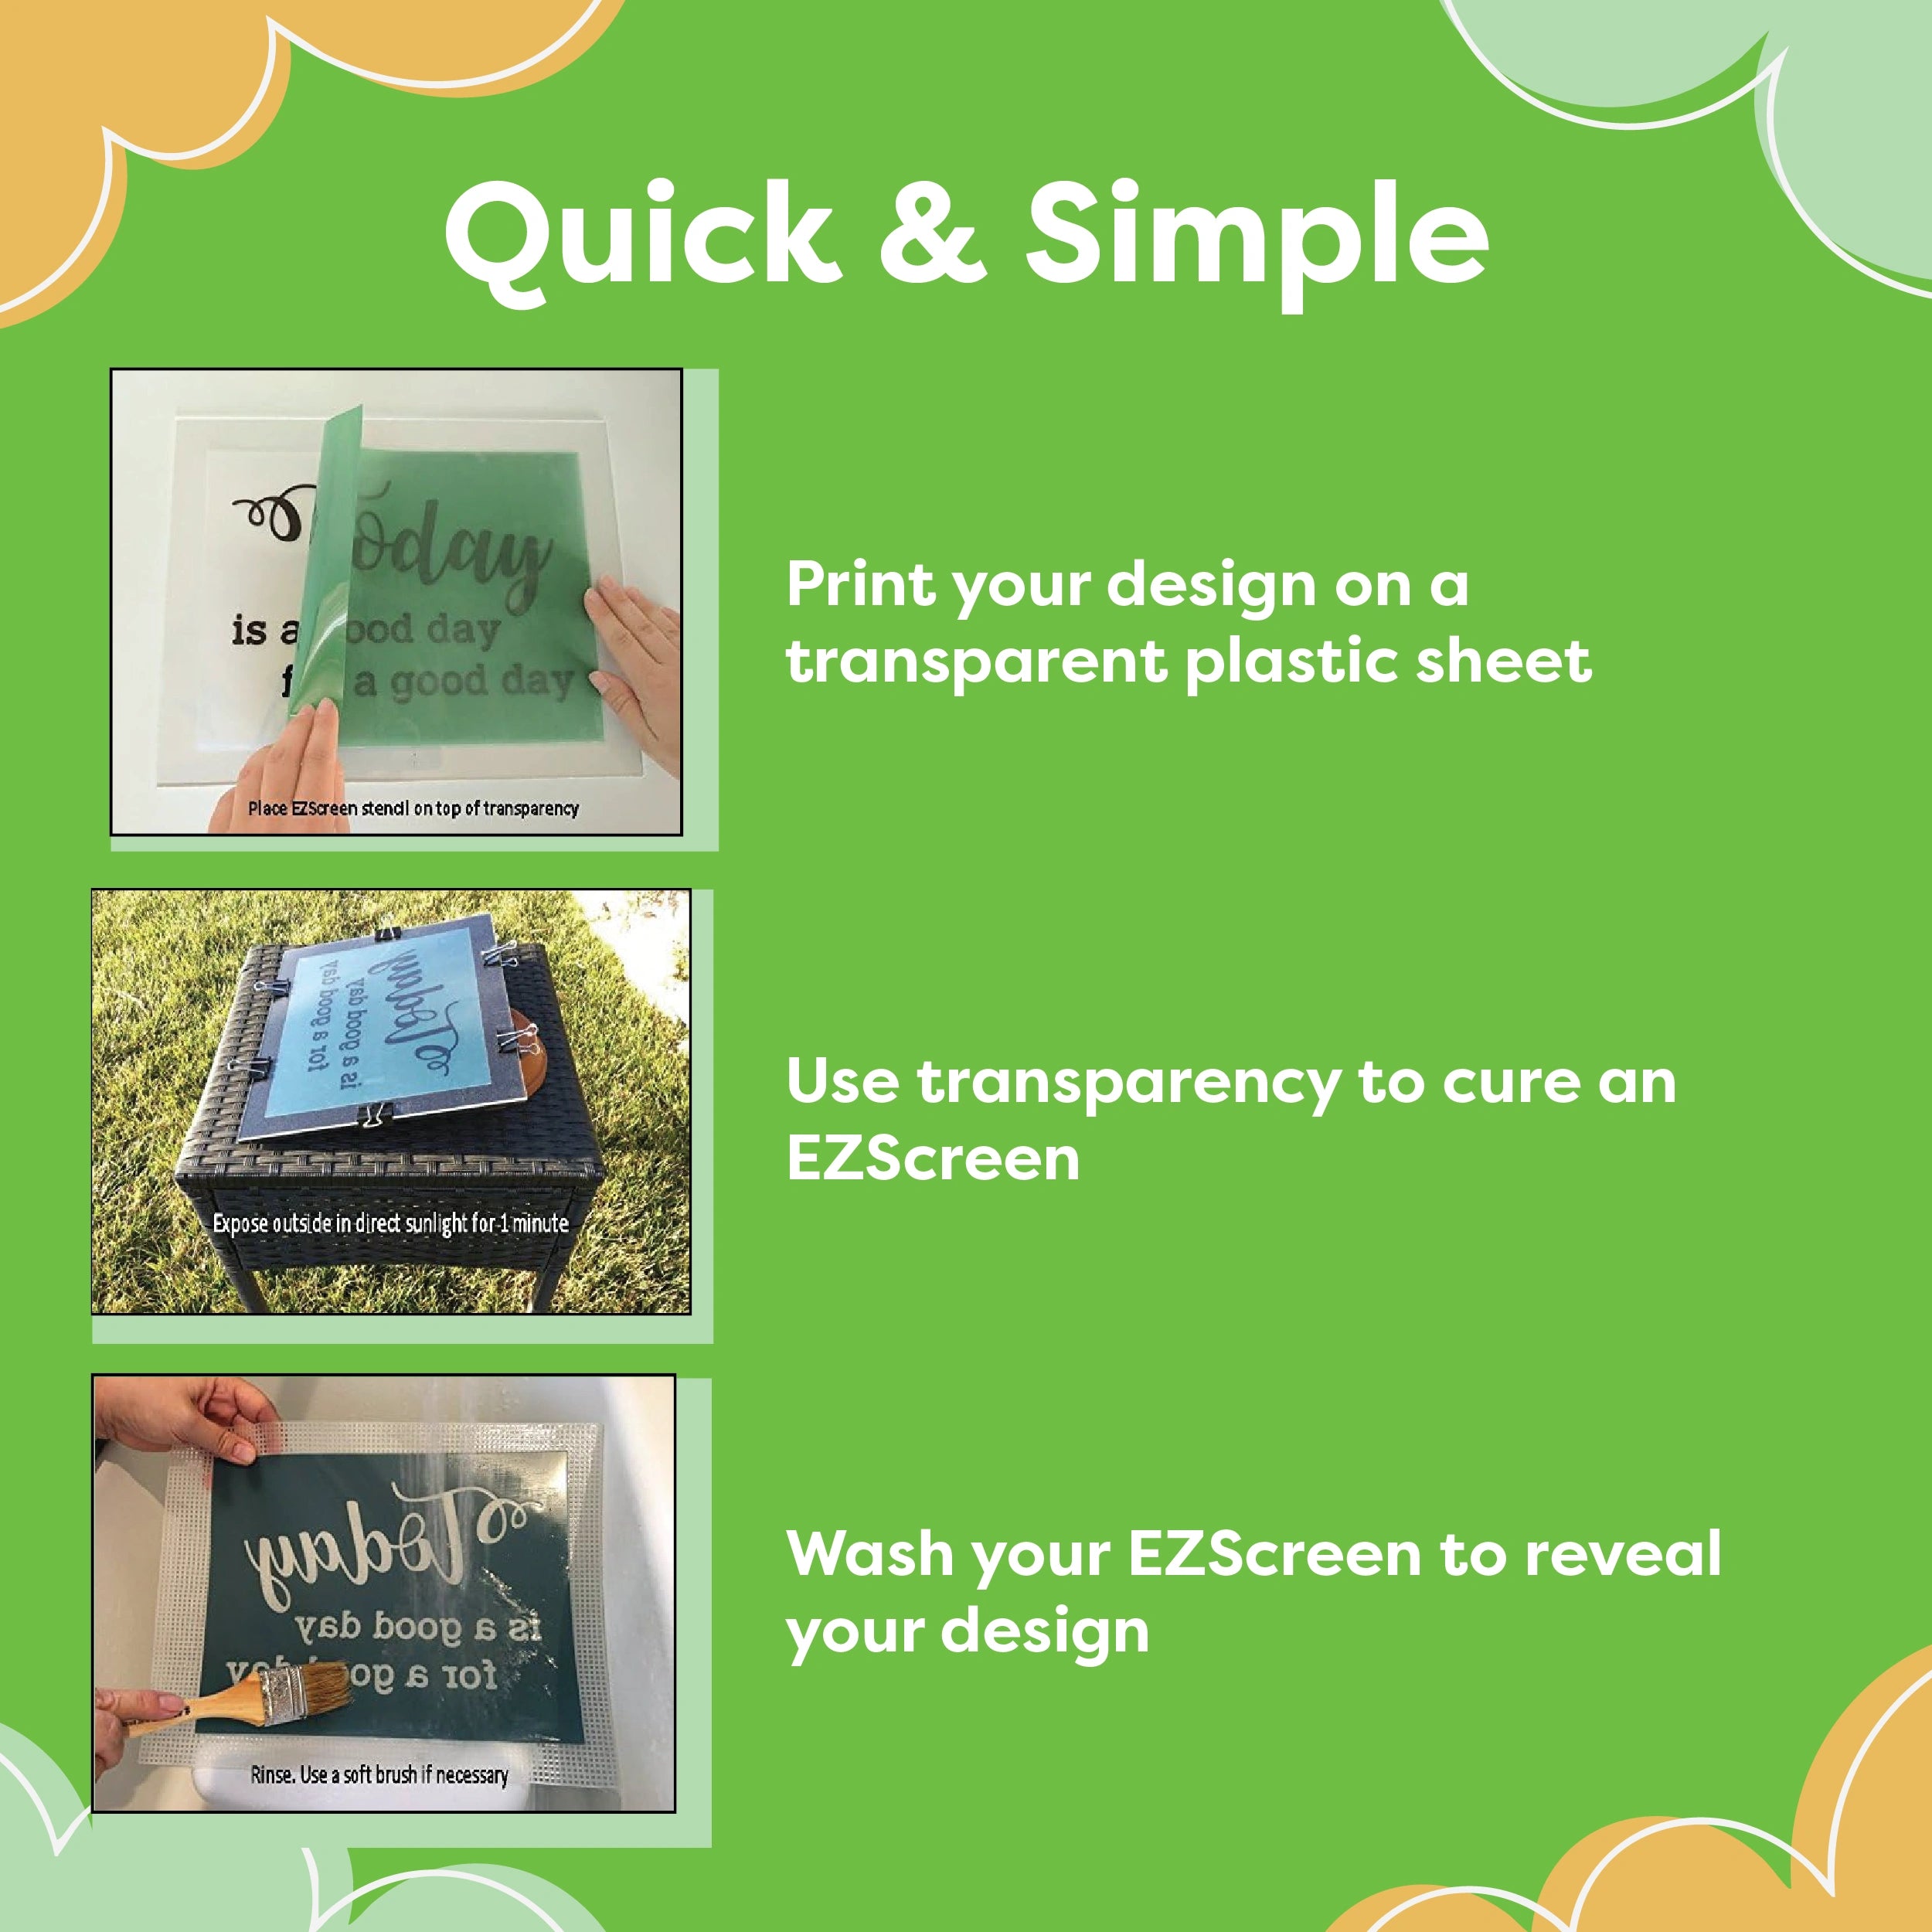
- A printed transparency with your artwork. Transparency film is included in the kit. For detailed help, see our guide to printing the transparency.
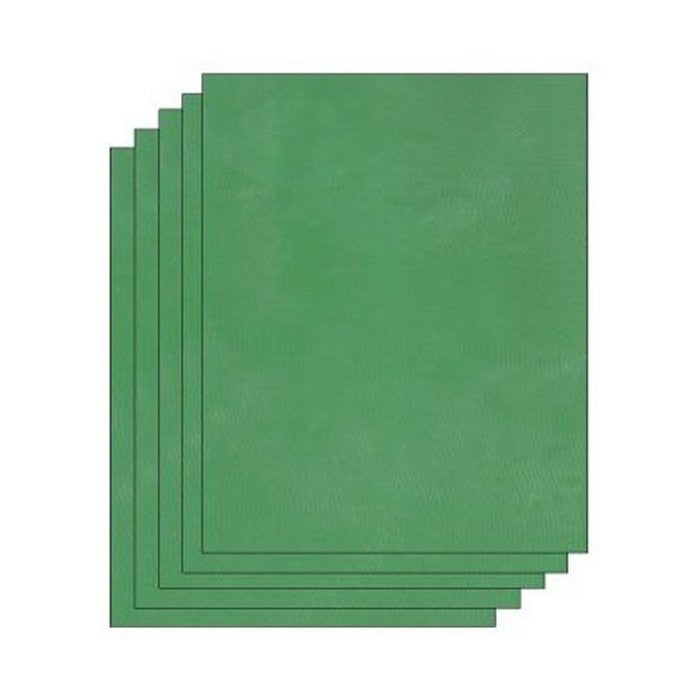
- A blank EZScreen, included in kits and available in refill packs
- A tested source of UV light: direct sunlight or an EZScreenPrint exposure light
- A tub or sink filled with cool water
- Paper towels, optional
Making an EZScreen Stencil!
Before exposing an entire stencil, test your process with one of the small test pieces provided in the black bag. If you encounter any issues, contact us for assistance or visit our troubleshooting page.

Step 1: Center the Artwork
Center the printed artwork on the clear part of the exposure unit. If your design includes words, position the transparency so the words are legible when viewed through the clear board.
Step 2: Remove the Protective Backing
Peel the clear protective backing from the EZScreen stencil and discard the backing.


Step 3: Place the EZScreen on the Artwork
Place the EZScreen stencil on the artwork with the shiny emulsion side facing down.
Step 4: Add the Black Board
Place the black board on top of the EZScreen with the felt side facing down.


Step 5: Secure the Exposure Unit
Add the clips to hold the clear board, stencil, artwork, and black felt board together. The clear board, black felt board, and clips are included in all starter kits.
Step 6: Keep the Stencil Covered
Turn the exposure unit over and cover it with something opaque to protect it from light. Keep it covered until you are ready to begin exposure.


Step 7: Expose the Stencil
Remove the cover and expose the unit to direct sunlight for 1 minute, plus or minus 10 seconds. After one minute, cover the exposure unit again to prevent overexposure.
If using an EZScreenPrint exposure light, place the light 12 inches directly above the exposure unit and expose it for 10 minutes. (15 minutes for a Speedball UV Light)
*NOTE: Make sure the transparency with your printed design is ON TOP of the EZScreen in the exposure unit, so that it is blocking sunlight from hitting the EZScreen.
Step 8: Soak the Stencil
Soak the EZScreen in cool tap water for 10 to 15 minutes. A ghost image of the artwork will begin to appear.


Step 9: Rinse the Stencil
Support the EZScreen with a plastic canvas and rinse it with cold or lukewarm tap water. A kitchen sprayer works well. If needed, use the washout brush included in the kit to remove excess residue.
Rinse away all emulsion residue from the design area so ink can pass through the finished stencil.
Be gentle when brushing! Brush from the mesh/backside of the EZScreen to remove more stubborn emulsion if necessary.
Step 10: Cure and Dry the Stencil
Cure and dry the stencil in sunlight with the emulsion side facing up for 5 minutes (sunlight) to 10 minutes (UV light) . This solidifies the emulsion on the mesh, making the stencil permanent and reusable.
Your EZScreen DIY screen printing stencil is now ready to use!

Other Screen Printing Guides
Use this text to share information about your brand with your customers.
Describe a product, share announcements or welcome customers to your store.
Screen prep guides
Do all this with the kit!


3 Ways to Start Screen Printing
- Choosing a selection results in a full page refresh.