How I Made a Bleached and Printed Matching Onesie and T-Shirt: A Fun DIY!
Want to make your own matching, bleach-dyed and printed shirts? Here’s how I did it step by step!
What you need:
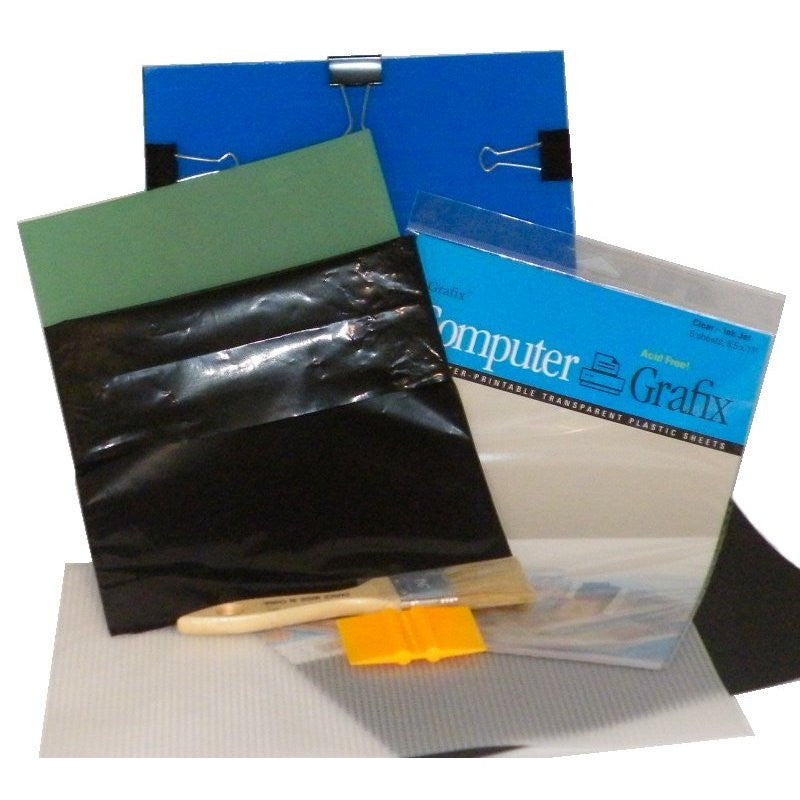
- EZScreenPrint starter kit
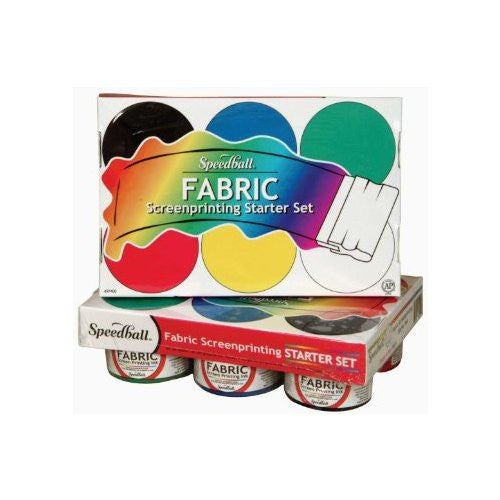
- Fabric Ink
- T-Shirts (or other cloth- natural fibers work best)
- Bleach
- Spray bottle
- Shallow tub
- Rubber bands
- Gloves (always use while handling bleach!)
Step 1: Create the Stencil:
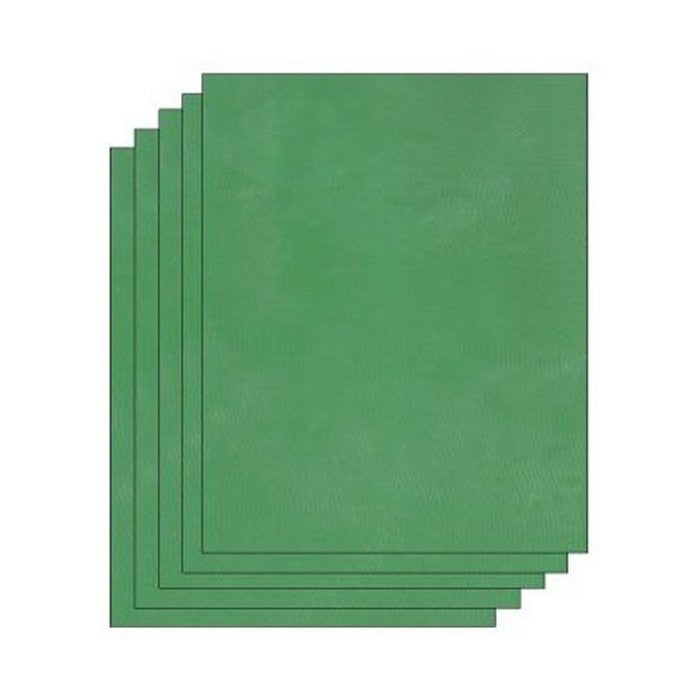
I used an EZScreenPrint starter kit to make my raccoon witch stencil.
- Print your design onto the transparency and place it on a blank EZScreen, and then clip them into the exposure unit. Set the exposure unit outside in direct sunlight for 60 seconds.


- After exposing, soak the screen in cool water for 10 minutes and brush away the unexposed parts to reveal the stencil.

Step 2: Bleach the Shirts
- Grab your shirts (I used a onesie and T-shirt). Pinch, twirl, and tie them with rubber bands. There are a lot of really cool tutorials on how to get different patterns or designs, so have a ball!


- Place the shirts in a bucket outside and spray with a bleach solution. Let them develop for 10 minutes, then rinse in cold water and neutralize the bleach (Clorox has a tutorial!).


- After rinsing, let the shirts dry completely before going on to printing.
Step 3: Print the Design
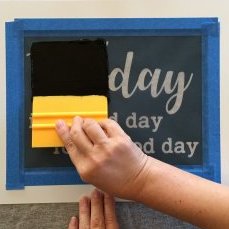
- Once your shirts are dry, tape the stencil into a plastic frame for easy printing (If you are only printing one shirt, then the frame isn't really necessary, but if printing multiples then the frame helps a ton!)

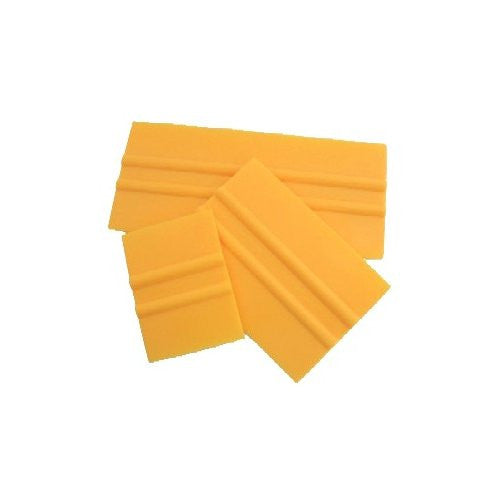
- Use a squeegee to swipe fabric ink through the stencil onto the shirts. For multiple shirts, just reapply ink and repeat!


And that's it! You’ll have cool, custom bleach-dyed shirts with your own printed designs. Try it out and have fun crafting! 🎨👕

