Menu
DIY Screen Printing On Glass Techniques Page
Techniques for DIY Screen Printing on Glass
From our own experience, screen printing on glass and other non-porous surfaces has proved to be a more difficult task than printing on fabric or porous surfaces. If you use too much paint or too much pressure, you will sometimes get bleeding since the paint has no where else to go but out. However, with much trial and error on our end, we have figured out the process that we most recommend to customers who want to silk screen on glass, and of course, with professional results.
This may be a long winded technique page, but it is well worth the read if you want to avoid all the mistakes we have made when printing on glass. Here we go!
We have tried dozens of craft store brand acrylic and enamel glass paints. We encountered the same issues with almost every brand: bubbles and/or bleeding. Many craft paints would create bubbles on the glass surface when the stencil was removed, and most others would bleed and ruin the design. We tried to resolve these issues by using tacky stencil adhesive spray that can also be found at local craft supply stores. Using stencil spray just created additional issues. Some sprays did not have a fine mist, but instead, it would shoot out in streams and ruin the stencil. Others that did have a finer mist would sometimes clog the mesh in the stencil. One head ache after another. We tried lightly wetting or dampening the stencil, but that would cause further bleeding. Our conclusion: cheap but easily available craft store paints were not worth the time and hassle.
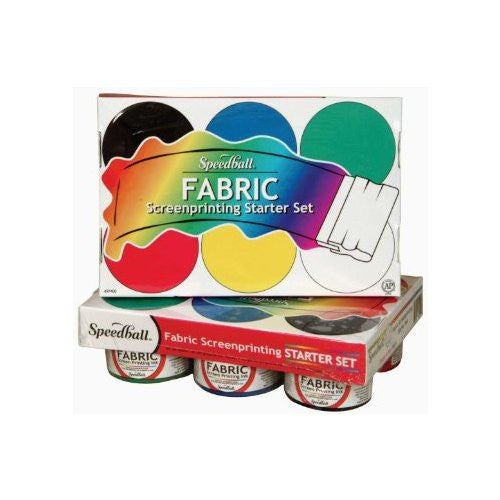
A customer recommended to us years ago to mix half Speedball screen printing ink and half an enamel or acrylic glass paint of choice. Somehow, mixing the glass paint with Speedball ink resolved the bleeding and bubbling issue. We tried, and actually, it worked! The only issue with this method, because Speedball ink is not meant for glass, the print could chip and it would not be dishwasher or food safe. In conclusion, we found this method worked amazingly well for the screen printing portion of the process. We would recommend using a glass suitable clear coat to apply to the glass after the ink/paint mixture has dried. This will prevent chipping and usually (depending on clear coat brand) will make the glass dishwasher safe.
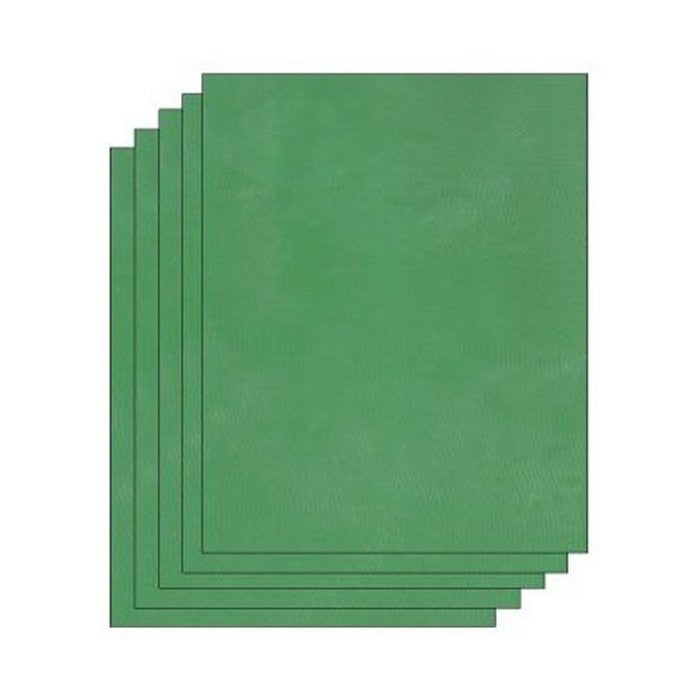
Above is an example of our attempt at mixing half Speedball green ink and half DecoArt Americana acrylic paint in green. The results were very good! Click on the photo to view our step by step process on this project.
The most professional and our highly recommended method of printing on glass (drum roll please): using kiln firing glass paints. Yes, we understand most of our customers do not have access to a kiln. But with firing paints, we have experienced little to no bleeding or bubbling issues. We like the Color Line Paints brand Silk Screen Pastes which work incredibly well with our stencils when printing on glass, and they can even be used on ceramics. Typically, we have used HiDef stencils to print on glass and other non-porous surfaces, but Color Line silk screen pastes are recommended for 120 mesh stencils, so our Standard screens work better with these paints with a 110 mesh count.
"But wait, EZScreen ladies, I don't have a kiln!" Did this cross your mind? We totally get it! So if you would like to try out kiln firing paints for printing on glass, we would suggest looking for ceramic studios or glass fusing studios in your area that will let you use their kiln, and find out what they charge for doing so. If this is not a possibility, there is not a studio around you or they do not allow non-members to use the kiln, then go back up to paragraph 4 where we recommend mixing craft store glass paints with Speedball inks. That will be your best bet on getting the most professional results without needing a kiln.
View Color Line's video on using our EZScreen stencils to screen print on glass. Skip to 6:15 for the screen printing process.
Tips:
Use a flat artist brush when applying the Speedball mixture method to the stencil, especially on curved surfaces. Squeegees may be too rigid and not coat the entire stencil in paint, leaving voids on the printed surface.
Color Line shows the squeegee method on a flat glass surface. Try both methods to see what technique works best for you and your project.
- Choosing a selection results in a full page refresh.

