Menu
Screen Printing on Ceramic Process Videos
Techniques for DIY Screen Printing on Ceramic, Clay & Bisque
EZScreen DIY silk screen stencils can be used for screen printing on leather-hard clay, bisque, polymer clay, and other pottery surfaces! There are many techniques for printing on ceramic surfaces including:
- Printing onto transfer paper to transfer the image to bisque
- Printing directly on leather hard clay
- Screen printing onto a silicone gelli art-plate to transfer on rounded or textured ceramic pieces
- and more!
Scroll down to see some walkthroughs on some of these different processes!
Making Underglaze Transfers with Silk Screen Stencils:
Making underglaze transfers is a handy way to take your illustrations and make them into something that can later be printed onto your pottery. Transfers are especially useful if you are printing on rounded or curved surfaces, as you are able to fold, cut, and adjust the tissue paper to the shape of the piece you are printing on. Here's how to do it:
-
Find Transfer Paper and Prep Underglaze: We recommend using a thin tissue paper, rice paper, or newsprint (We stock my personal favorite, which you can get by clicking here). We've had some customers say they use old fabric pattern paper! Thicken your underglaze by letting some of the water evaporate, adding CMC gum or Silk Screen Medium from Mayco.
-
Apply the Stencil: Place the stencil shiny side down on the transfer paper.
-
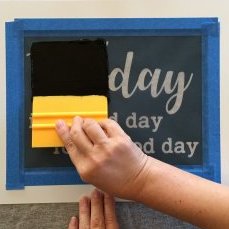
Screen Print the Underglaze: Use a squeegee to push the underglaze through the stencil onto the paper, then gently peel away the stencil and allow the print to fully dry.
-
Transfer to Clay: When ready, dampen a sponge and press the tissue paper onto leather-hard clay, as if applying a temporary tattoo.
-
Buff the Design: Use a rubber rib to smooth the design, ensuring it transfers completely. Peel the paper slowly for a clean result.
You can also experiment with multicolor prints using this method!
Screen Printing Directly on Greenware:
This method of printing on clay works best on generally flat surfaces or those with gentle curves. If you are printing around corners or on very rounded pieces, we recommend making a rice paper transfer or using a gel plate to transfer the image (see below). For printing directly on clay:
1. Prepare Your Clay:
Ensure your clay is leather hard or slightly wetter (but still firm enough to handle). We find that the moisture in the clay helps grip and hold the stencil in place.
2. Position the Stencil:
Place the stencil shiny side down on the clay surface.
3. Apply Underglaze:
Rub thickened underglaze through the stencil using your finger. Make sure the underglaze has roughly the consistency of greek yogurt, as using underglaze that is too runny will bleed underneath the stencil. To thicken underglaze, we recommend using CMC gum or Silk Screen Medium from Mayco.
4. Reveal the Design:
Gently peel the stencil back to reveal your printed design.
You can use a sponge to clean up any underglaze that went over the edges of the stencil.
Using this method, you can easily print onto cups, plates, or other ceramic pieces with beautiful results!
Gelli-Art Plate Method for Transferring onto Ceramic Bisque Video:
Gelli-Art Plate Method for Transferring onto Wheel-thrown Pottery Video
Screen Printing Directly Onto Clay Slabs Video
Silk Screen Printing Rice Paper/Tissue Paper to Make Your Own Paper Transfers Video
Click the images below to see the written tutorial
Screen Printing on Leather Hard Clay Tutorial
Super Easy Chrysanthemum Bisque Tile Step-By-Step
Sun & Moon Ceramic Serving Plate Tutorial
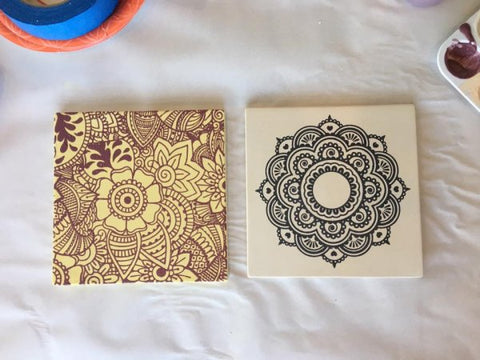
Additional Screen Printed Bisque Tiles
Screen Printing on Ceramic Process Videos
By Amy Brummond on Instagram: @pinezenpottery
Amy uses our Ready-To-Use stencils to screen print under-glaze onto clay slabs, then hand builds her mugs and flasks.
- Choosing a selection results in a full page refresh.

