Menu
Troubleshooting
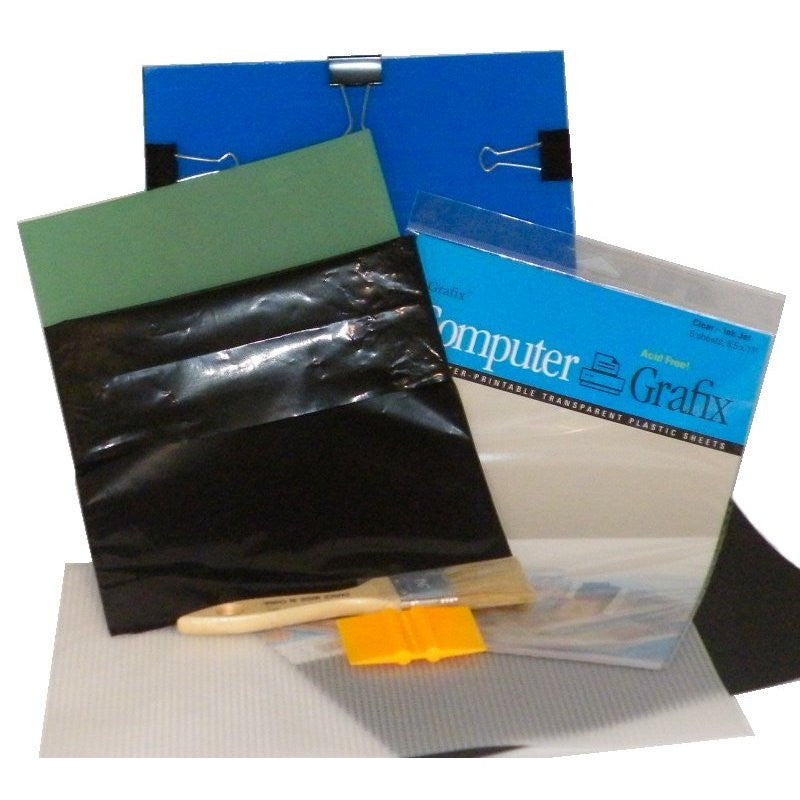
Per our instructions, please test exposure time with small test pieces provided in the black bag before using an entire stencil. If you encounter any problems, please contact us right away for trouble shooting assistance. Only expose EZScreen stencils in direct sunlight; no clouds or shade. If sunlight is not available, use our tested artificial lights.
|
Poor Stencil Quality |
Causes/Solutions |
|
Image on stencil is there but not washing out enough. |
May be over exposed. Try reducing exposure time. Check artwork. If light passes through printed areas, image may not be opaque enough. Light may be diffusing under EZScreen Stencil. Make sure EZScreen Stencil and artwork are squeezed tightly together. |
|
No image at all, entire stencil is blue. |
Make sure artwork is placed between light source and EZScreen Stencil. May have been left out of protective bag for too long. Return unused pieces in black bag ASAP. Protect from intense light during washout. |
|
Entire stencil is washing away leaving only the silkscreen mesh. |
Light source is not intense enough or has no UV. Make sure you use recommended light. Artwork is blocking all UV light. Use recommended artwork media. If you are using your own exposure unit make sure the plastic or glass is not blocking out UV. Make sure to use non-UV-blocking materials. |
|
Fine details washing away. |
Artwork printout may not be opaque enough or details are too fine. Exposure time not long enough. Use transparency film only, DO NOT use paper of any kind for your artwork. |
|
Some areas not washing away. |
Artwork printout making poor contact with EZScreen Stencil. Use recommended exposure frame. Image on artwork not opaque enough in some areas. Be sure to set your printer on best print and heavy ink. |
|
Some areas washing away. |
Light source not distributing evenly over entire surface of EZScreen Stencil. Try using larger light source or more bulbs. |
|
Image is fuzzy. |
Artwork printout making poor contact with EZScreen Stencil. Use recommended exposure frame. Light diffusing under EZScreen Stencil. Make sure to place on top of dark foam or material. Artwork placed on mesh side of EZScreen Stencil. Make sure artwork is on shiny green side during exposure. Light source not perpendicular to EZScreen Stencil. |
|
Film lifting off mesh. |
Under exposed leaving film too soft. Try longer exposure time. Too vigorous washout. Use gentler spray. Image too close to edge. Try leaving at least ½" boarder around stencil. |
|
Center not washing out and edges washing completely out. |
EZScreen Stencil is too close to light source and is creating a hot spot in center while edges are not getting enough light. Try moving light further away or use more bulbs and less time. |
|
|
|
|
Poor Printing |
Causes/Solutions |
|
Paint bleeding under stencil. |
Paint not thick enough. Try using a thicker paint. Stencil not making good enough contact with surface being painted. Try using stencil adhesive spray. Surface being painted is too uneven. Try cutting EZScreen Stencil into smaller pieces for a better fit. Taping down may help. Too much pressure applied to paint brush or squeegee. Use less pressure. |
|
Paint not going through. |
Residue not completely cleaned after soaking in water and blocks paint from going through silkscreen mesh. Use a soft brush to clean excess residue. Dried paint filling up silkscreen mesh. Try cleaning stencil before proceeding. Paint is too thick. Paint contains pigments or speckles that are too large to fit through mesh. Do not use metallic paint with HiDef EZScreen Stencil. Test first. |
Here is a list of common mistakes you should avoid:
1 - Gray or color artwork
2 - Super thin lines
3 - Printing artwork on paper
4 - Not using the exposure board unit provided on our website
5 - Not peeling the clear protective plastic from the stencil before exposure
6 - Exposing the stencils on a cloudy day
7 - Bad time of day
8 - Using artificial lights
9 - Not curing the stencil
View our Common Mistakes page for more information.
- Choosing a selection results in a full page refresh.

