Menu
DIY Bleach Printing Using Toilet Bowl Cleaner!
Creating custom bleach-printed T-shirts is a fun and creative way to personalize clothing. Here’s how I used an EZScreen stencil and Clorox toilet bowl cleaner to make matching shirts for my sister-in-law and niece!
What You'll Need:
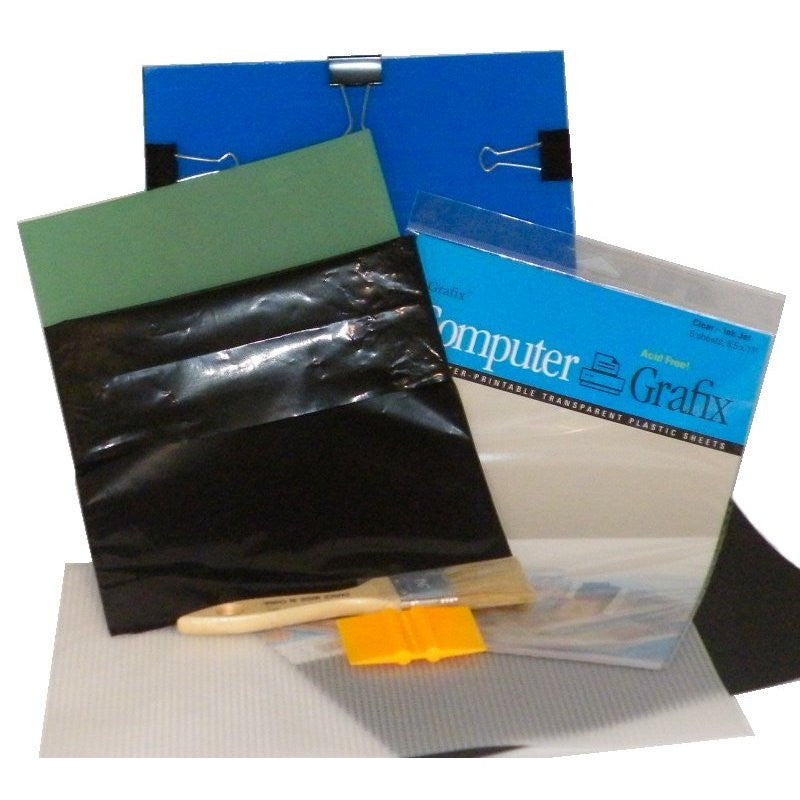
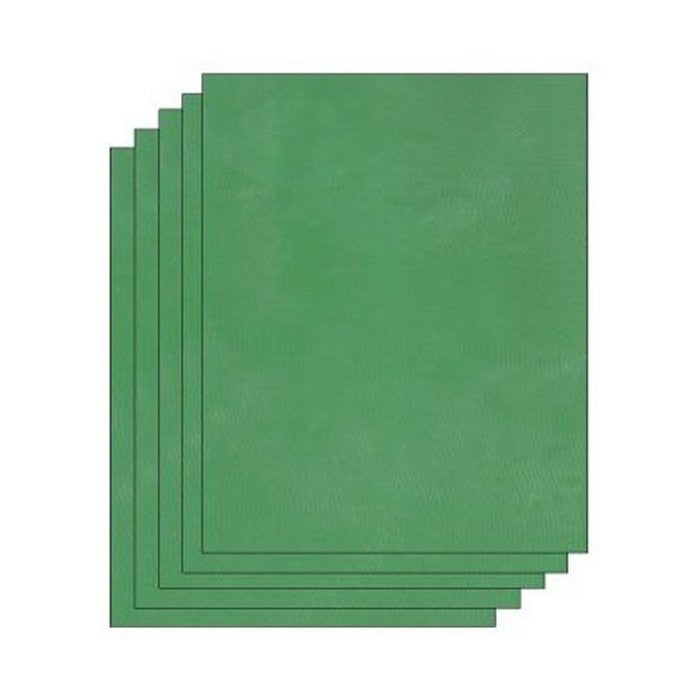
- EZScreen stencil (we have kits so that you can make your own stencils at home, or you can pick from our close to 500 ready-to-use stencils!)
- Plastic frame (for multiple prints)
- Clorox toilet bowl cleaner (I also like to use Soft Scrub, but either will work!)
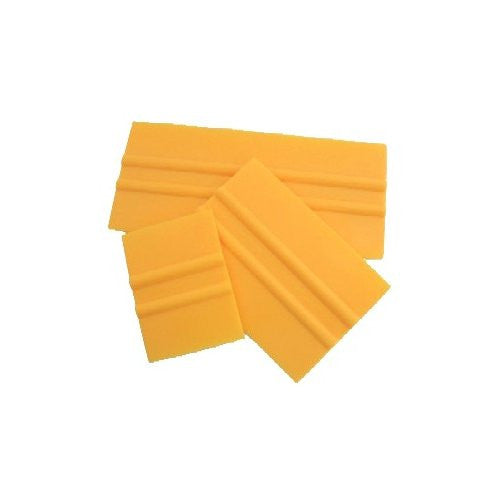
- Squeegee
- Plastic insert or cardboard (to prevent bleed-through)
- Bathtub or large sink (for rinsing)
- Hydrogen Peroxide (to neutralize the bleach)
Step-by-Step Instructions:
-
Prepare Your Shirt and Stencil:
- Insert a plastic or cardboard piece inside the shirt to prevent the bleach from seeping through to the back.
- Tape your stencil into a plastic frame (especially handy if you're printing multiple shirts)
- Place your EZScreen stencil on the shirt where you want the design to appear (if you didn't use a frame, tape the stencil to your shirt directly to keep it from sliding and to act as a border so you don't accidentally get bleach somewhere you don't want it :)
-
Apply the Bleach:
- Squeeze a generous line of Clorox toilet bowl cleaner across the top of the stencil.
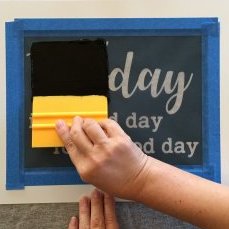
- Use a squeegee to spread the cleaner evenly across the stencil, pressing it through the design onto the fabric. Make sure you have even coverage over the entire design!
-
If Printing Multiple Shirts:
- If printing more than one shirt, the plastic frame makes it easy to lift the stencil and repeat the process on the next shirt. Try not so slide the stencil around on top of the shirt, but gently set it down into place to avoid smearing bleach.
-
Rinse and Develop:
- Immediately after printing, rinse the stencil thoroughly to remove any remaining bleach.
- Let the shirts develop for about 10 to 15 minutes, allowing the bleach to fully process.
-
Rinse and Dry:
- Rinse the shirts in clean water in the bathtub or sink to remove the bleach.
- After you have rinsed out the bleach, you can also neutralize the bleach with hydrogen peroxide, but ONLY AFTER YOU HAVE RINSED OUT THE BLEACH :) Clorox's website recommends 1 part hydrogen peroxide to 10 parts water for the neutralizing rinse (https://www.clorox.com/learn/how-to-neutralize-bleach-with-hydrogen-peroxide/)
- Once rinsed, dry the shirts thoroughly.
Final Thoughts:
The bleach created a striking design on the shirts, and the Clorox toilet bowl cleaner worked great in a pinch! I typically prefer using Soft Scrub, but this alternative did the trick. I hope my sister-in-law and niece love their new shirts—what do you think?
If you want to see a test of three different bleach methods, check out this blog post here --> Testing 3 Bleach Methods
Let me know how your bleach printing projects turn out, or if you have any other tips or tricks to share!
- Choosing a selection results in a full page refresh.

1 comment
Scott
I do not know why you guys do not have an email address or phone number. Can you tell me when my order will ship?