Menu
Homemade Torch Paste for a Cool Wood-burned Look!
How to Make and Use Torch Paste for Wood Burning Art
Hold up! Did you know that making your own torch paste for wood burning is actually super easy? You only need four ingredients and a few simple steps to create beautiful, custom designs on wood. Whether you’re a seasoned DIYer or just looking to try something new, follow this tutorial to make your own torch paste and create an adorable wood-burned snowman plaque!
What You’ll Need:
- ¼ cup of water
- 2 heaping spoonfuls of ammonium chloride
- 1 spoonful of cornstarch
- Optional: Food coloring (for easier visibility when applying the paste)
- Microwave-safe bowl
- Spoon
- Microwave
- Wooden plaque (or any wood surface you want to decorate)
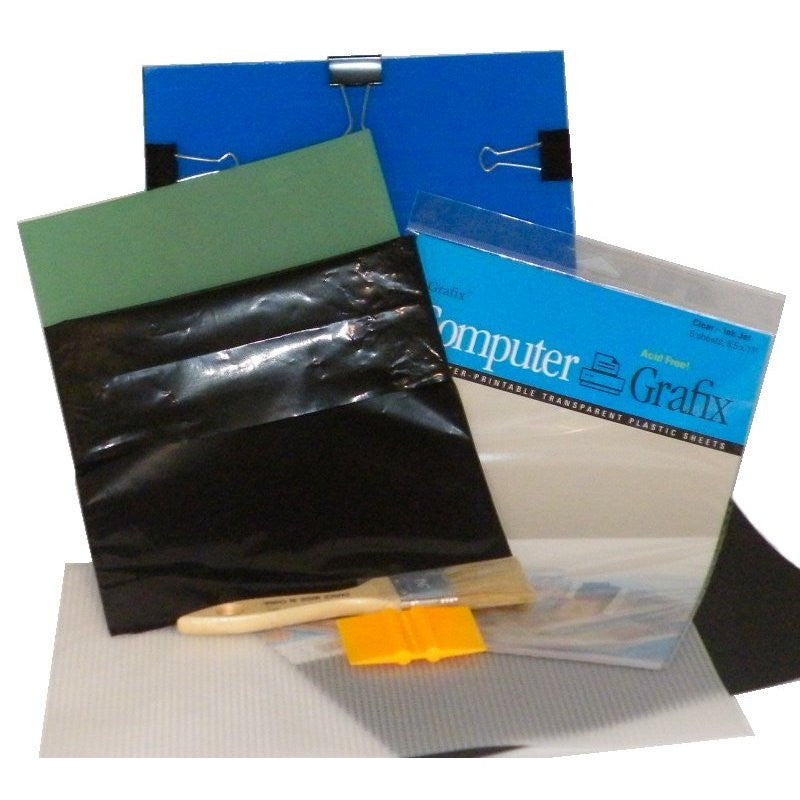
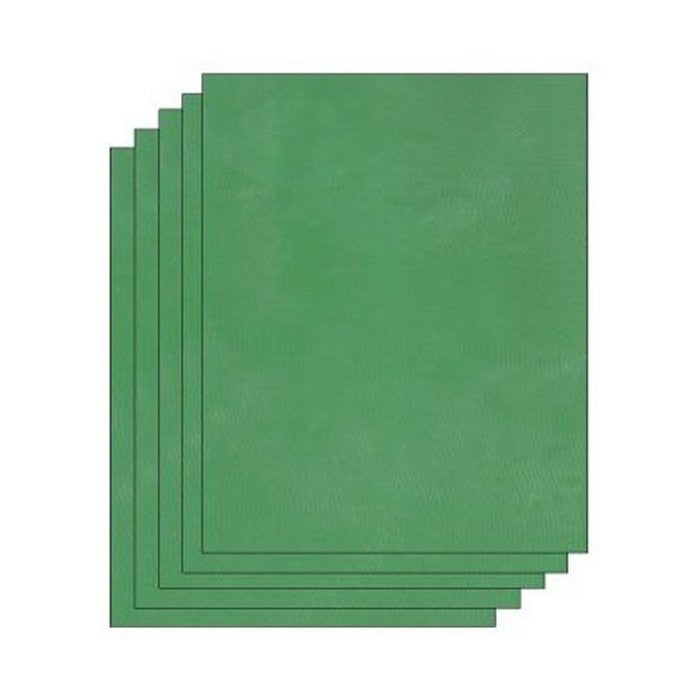
- Stencil (we’re using a fun little snowman design here, but here are a bunch of other designs! OR you can use this kit to make your own stencil :)
- Blue painter’s tape
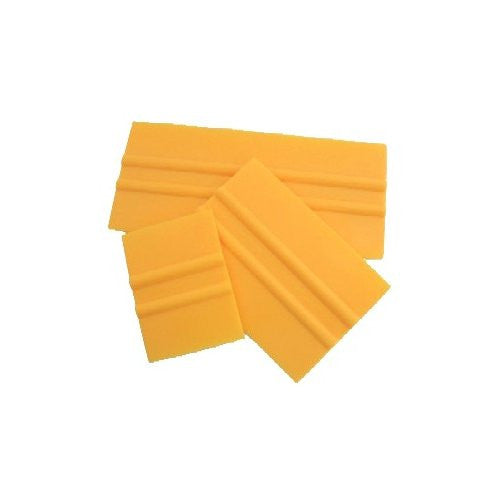
- Squeegee or scraper
- Heat gun or iron
- Well-ventilated workspace or respirator
Step-by-Step Instructions:
Prepare the Torch Paste Mixture
Start by pouring ¼ cup of water into a microwave-safe bowl.
Add 2 heaping spoonfuls of ammonium chloride to the water. Stir well until it’s completely dissolved. Next, add 1 spoonful of cornstarch and stir until dissolved. This helps thicken the mixture into a paste.


Microwave the Mixture
Microwave the mixture in 30-second intervals, stirring in between, until it thickens into a paste-like consistency. You want it to be spreadable but not too runny.
Optional: If you’d like, add a few drops of food coloring at this stage. While it doesn’t affect the final burn, the color makes it easier to see where you’ve applied the paste.


Prepare Your Wood Surface
Place your wooden plaque or chosen wood surface on a stable workspace. If it is a rough wood, sanding it first is recommended.
Position your stencil where you want the design and secure it with blue painter’s tape to keep it from slipping.

Apply the Torch Paste
Dip a squeegee or scraper into your homemade torch paste.
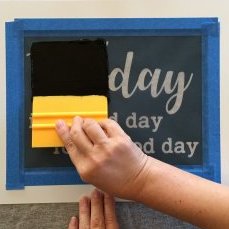
Carefully scrape the paste through the stencil onto the wood. Make sure the stencil is well-covered, but don’t overdo it—too much paste can lead to a blurry design.
Once you’re done, gently peel back the stencil to reveal your design in torch paste.


Activate the Torch Paste
Let the torch paste dry for a few minutes on the wood. Once it’s dry, use a heat gun or iron to activate the ammonium chloride.
The heat will cause the ammonium chloride to react and start burning the wood, bringing your design to life!


Safety Tip: Be sure to work in a well-ventilated area or wear a respirator, as the heating process can produce a bit of smoke.
Admire Your Work
That’s it! Now you have a custom wood-burned piece featuring your stencil design. Torch paste allows you to create detailed, clean wood-burned designs without the hassle of traditional wood-burning tools.Final Thoughts
This DIY torch paste method is a fantastic way to create detailed, custom wood-burned designs quickly and safely. Experiment with different stencils and designs to make unique gifts, decorations, or personalized art. What design will you try next? Let us know in the comments!
Pro Tip: This torch paste technique is perfect for holiday-themed crafts or personalized gifts. Have fun creating, and don’t forget to share your finished pieces with us!
- Choosing a selection results in a full page refresh.

1 comment
Shideh
I live in IRAN!