Menu
Making Custom Silk Screen Stencils for Printing On Pottery Using EZScreens!
How to Print Underglaze Designs on Pottery Using EZScreen Stencils!
If you're looking to add intricate designs to your pottery, EZScreen Stencils make it easy. Here's how I did it:
Materials Needed:
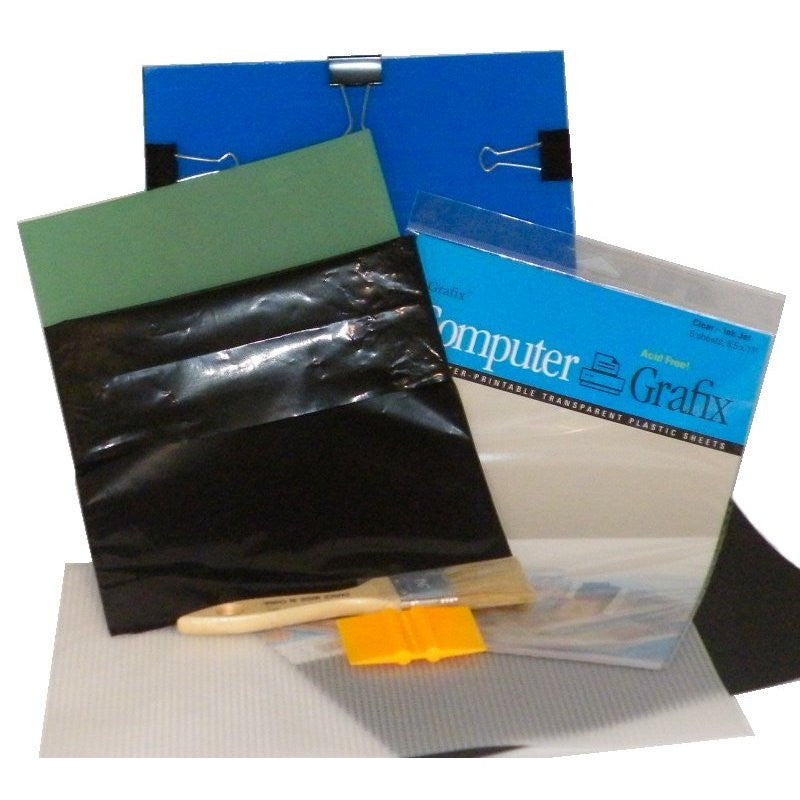
- EZScreenPrint Starter Kit (This includes EZScreens, transparencies, an exposure unit, a washout brush, a squeegee, and a plastic canvas)
- Cool water (can be in a sink or bucket)
- Jelly pad
- Bisque-fired pottery
- Underglaze (or glaze, or slip :)
- Black Acrylic Paint Markers (if you are hand drawing your designs)
Step 1: Create Your Design
You can either print a design that you have made on the computer, or you can hand draw one! No matter which you do, make sure that you print/draw the design onto a transparency film. These are included in the EZScreenPrint Starter Kits, and we have refills you can get as well.
When printing, make sure you have your printer set to the heaviest coverage/highest quality as possible. The transparencies work better the darker the printed image is! If you have more questions about printing transparencies, we also have this guide :)


Step 2: Expose the Stencil
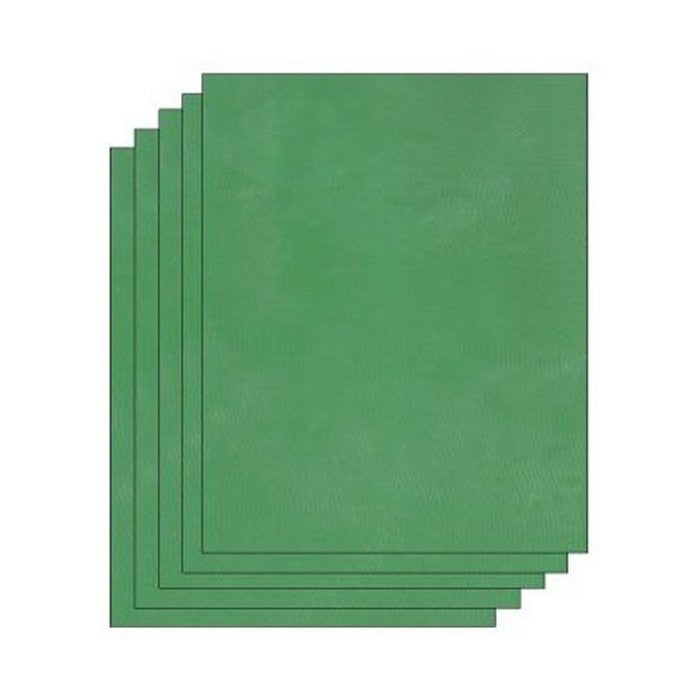
Peel the plastic covering off of your EZScreen, and place it shiny side down on top of your transparency. The most important things here are that the printed side of the transparency and the shiny side of the EZScreen are touching, and that the transparency is on top.


Next, clip them into the exposure unit. Expose it in direct sunlight for 60 seconds. Be sure the sunlight is strong—cloudy days can affect the exposure quality/the amount of time it takes. If you don't have sunny skies very often, then you can use one of our exposure lights!


Step 3: Soak and Wash Out
After exposure, soak the screen in cool water for about 10 minutes. Keep it away from additional sunlight during this step.


Once it has soaked, use the washout brush to gently scrub away the unexposed emulsion, revealing your stencil. If you find that you have to scrub really hard to get the emulsion to rinse away, then there is a chance that you either A) left it in the sun/under the light for too long, or B) the transparency you printed wasn't dark enough. Be sure to use the test pieces that are included in the bag with the EZScreens!


Step 4: Dry and Re-expose
Once you have rinsed out all of the unexposed emulsion, place the stencil on a plastic canvas, dab it dry with a paper towel, and set it back in the sun for a final exposure to complete the drying process.

Step 5: Print on Pottery
Once dry, your stencil is ready to use! I like to print on a jelly pad (here's a tutorial for making your own jelly pad) first and then roll my bisque-fired pottery across the pad to pick up the design.
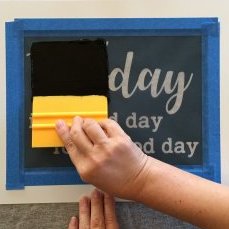
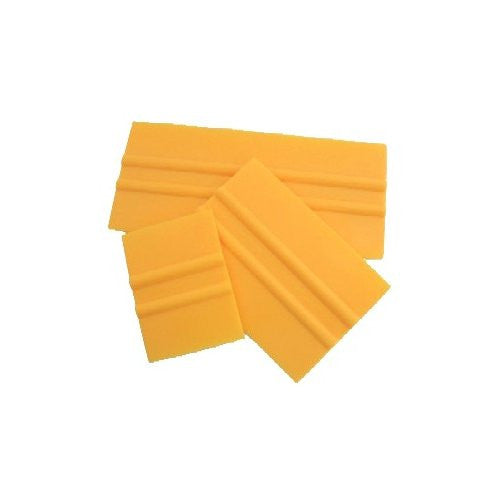
I lay the stencil shiny side down onto the jelly pad, and then use a squeegee (you could also use a rib) to push some underglaze through the stencil. If your underglaze is too runny and starts to bleed, try thickening it up with some silkscreen medium from Mayco!


Once you have squeegeed the underglaze through the stencil, peel the stencil off and roll your piece over the design to transfer it. You'll want to be fairly quick so that your underglaze doesn't dry on you, but as long as I am doing it somewhere cool that hasn't usually been too big of a problem for me (I tried doing it in my 110º garage and that did not work out so slick haha).


You can also print directly onto your clay if you find that easier! The stencils are reusable, which is a huge time-saver when decorating multiple pieces. The stencils can also be used to print on wood, glass, clay, fabric, metal, and more.
What do you think? Give it a try, and you'll see how easy it is to elevate your pottery designs!


- Choosing a selection results in a full page refresh.

2 comments
Albert
I am thinking of using the stencils to print on paper. What would you recommend? Tx!
edie
love these screens. On the last image of the “making your own screens” the last image is a finished vase/cup. is the leaf screen applied after a glaze coat – it almost looks like leaves clusters were waxed, then dipped?