Menu
Making our Own Shirts for Our Japan Trip!
We had a blast making our own family shirts for our trip to Japan, and they turned out so fun! One of our cousins drew up the design, and we transformed it into a set of EZScreen stencils using one of our screen printing kits.
Since we wanted a two-color design, we created one stencil for the background wave, which we printed in black and gray. For the "Japan 2024" text, we cut a small section of a second EZScreen and printed it in a rich red. We ended up printing shirts for everyone in our group—nine shirts in total, plus a pair of shorts! (If you are looking for a more detailed tutorial on multi-color prints, hang tight! We are working on it :)
The whole process was straightforward and enjoyable, and we loved how personalized and unique our shirts turned out. What do you think of our DIY adventure?
Here's a quick rundown of what we used:
- EZScreen stencils (if you already have a kit)
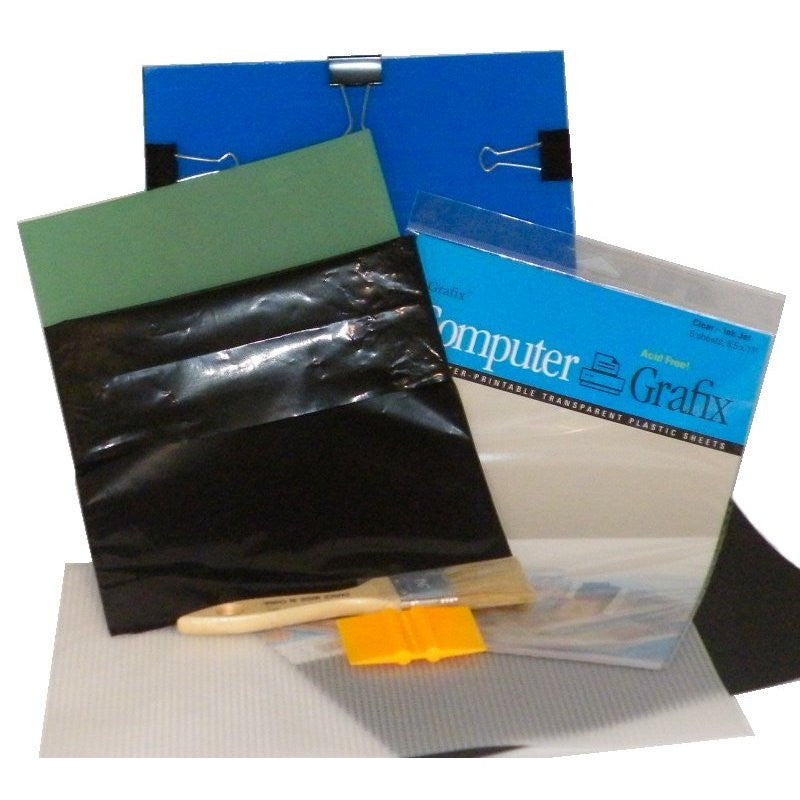
- Screen printing kit (Includes 2 EZScreen stencils)
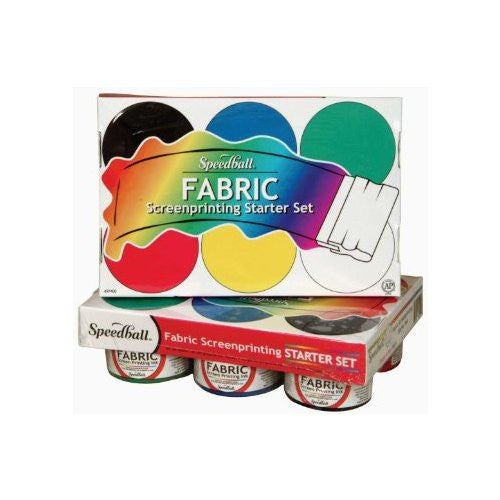
- Black, gray, and red fabric inks
- Plastic frames
- Plain shirts and a pair of shorts
- Heat gun/Hair dryer
- Paper bowls (for holding the ink colors we mixed up)
- Plastic spoons (for scooping the ink)
When printing multiple shirts (or whatever you are printing on :), our plastic frames can make it easier to pick up the stencils and move them to the next piece without making a big mess or smudging the ink.
We printed the background layer first, used a heat gun to dry the ink, and then printed the second layer. Pro tip: if printing a lot of shirts, print the first layer on all of them first, then go on to the second layer! This will keep the stencil from drying out in between prints, and it makes the whole process just go quicker :)


- Choosing a selection results in a full page refresh.

