Menu
Printing Halloween Decorations on Our Windows!
I had so much fun printing Halloween designs on my windows, and the process was super easy! Here’s how I did it:
Supplies:
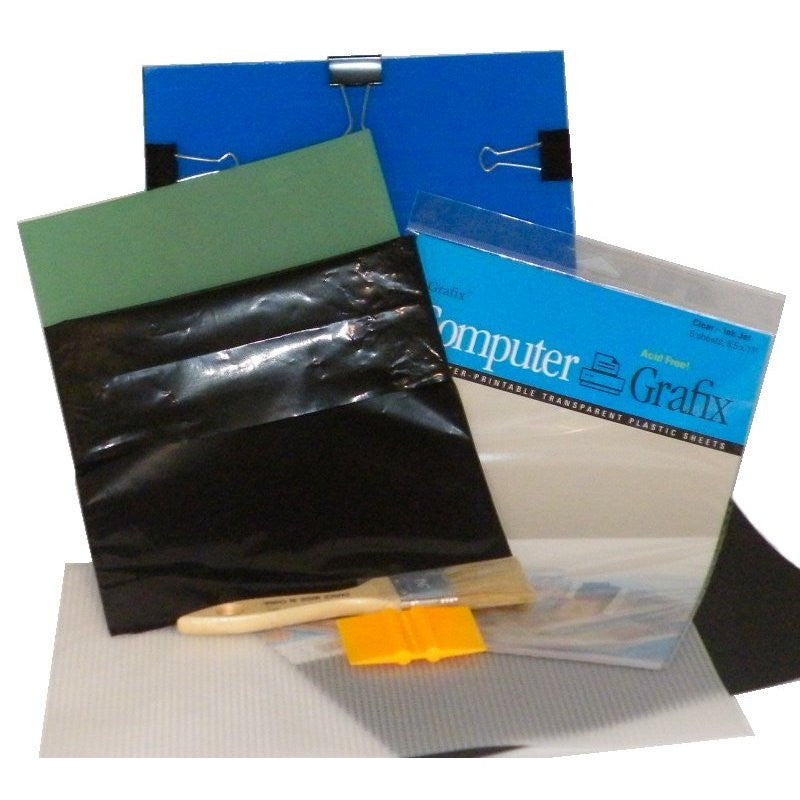
- EZScreenprint kit for the stencil (You can also pick from over 500 premade designs!)
- Repositionable spray
- Paint (I found that screen-printing black acrylic and Colorations washable paint worked best)
- Foam brushes
Step-by-Step:
1. I made a stencil with the EZScreenprint kit and coated it with repositionable spray. If you want to see how to make your own stencil, check out this blog post!

2. I stuck the stencil onto the window (the repositionable spray holds it in place without permanently sticking it) and painted through the design with black acrylic screen printing paint using a foam brush. If you forget to reverse any text, like me, you can always handwrite it in!


3. After I let the paint dry for a couple of minutes, I took some of the Colorations washable paint and filled in the colors!

The results were so fun that I made a few other Halloween stencils and printed some more designs all over our windows.. The best part? Both Colorations washable paint and screen printing acrylic worked perfectly and wiped off easily with a wet paper towel. Super easy cleanup!


Try it out for a spooky, festive look! What do you guys think?
- Choosing a selection results in a full page refresh.

