Menu
Printing on Balloons with EZScreens!
Easy DIY Balloon Printing
Looking to add a personal touch to your party or event? Here’s a super easy way to print your own designs onto balloons using a homemade jelly pad and an EZScreen stencil!
What You'll Need:
- Homemade Jelly Pad
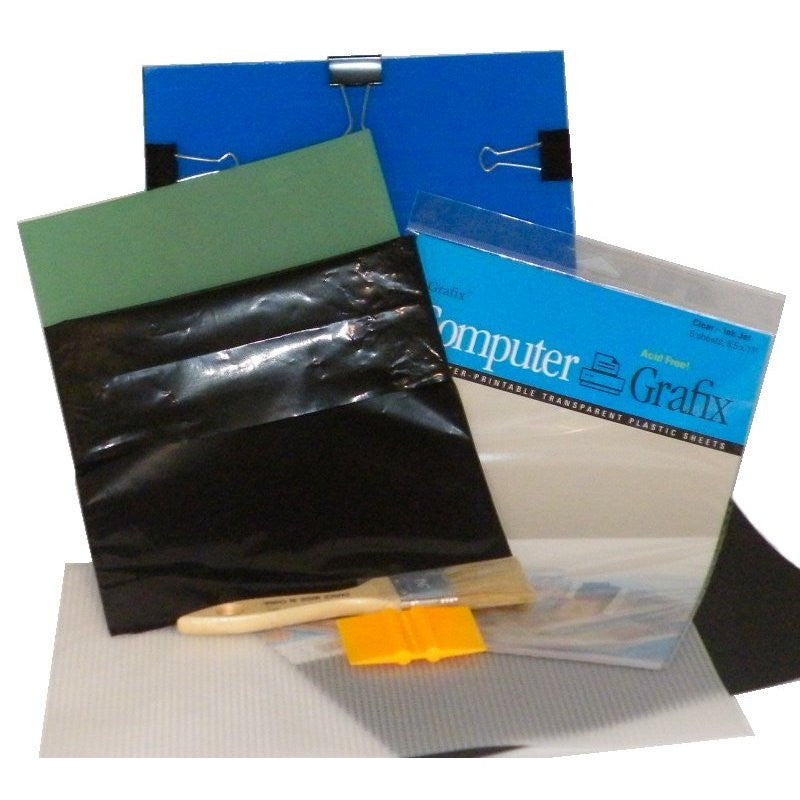
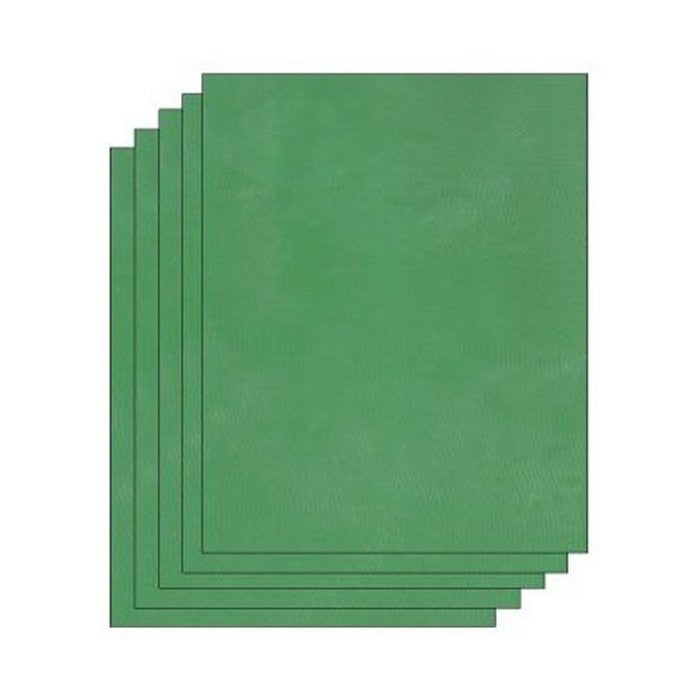
- EZScreen Stencil
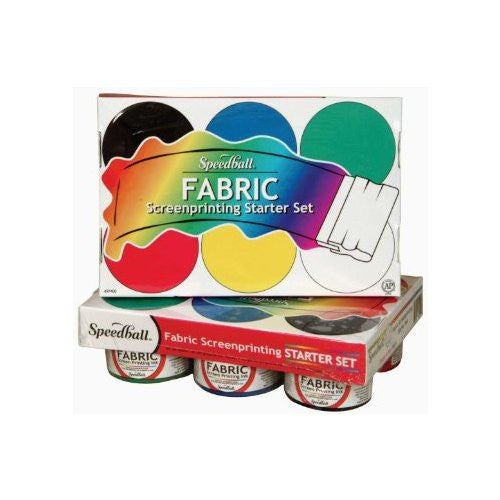
- Acrylic Paint for Screen Printing
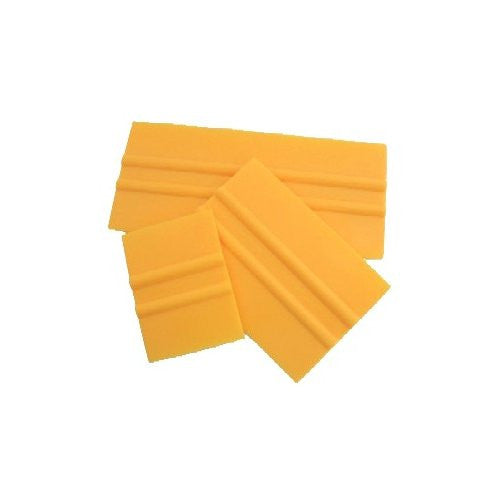
- Squeegee
- Balloons (any color)
Step-by-Step Process:
-
Prepare Your Jelly Pad: Lay your jelly pad on a flat surface. This will be your printing base.
-
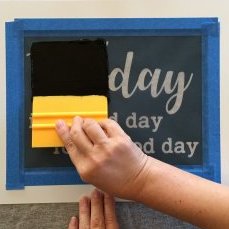
Apply Paint to the Stencil: Place the EZScreen stencil over the jelly pad. Squeeze a line of acrylic paint at the top of the stencil and use a squeegee to evenly push the paint through the stencil onto the jelly pad. Use a wet paper towel to clean up any paint you don't want transferred onto the balloon.
-
Transfer the Design to the Balloon: Inflate a balloon to your desired size. Carefully roll the balloon onto the painted jelly pad, making sure to apply even pressure to transfer the design. Lift the balloon to reveal your printed design!
-
Repeat as Desired: If you want to create multiple printed balloons, you can use the same print for a second balloon, but the transfer will come out a bit lighter.
Final Thoughts:
This technique is not only easy but also perfect for creating unique, customized decorations for parties, weddings, or any special occasion. The possibilities are endless with this fun and creative approach to balloon printing!
What do you think? Ready to try this at your next event?
- Choosing a selection results in a full page refresh.

1 comment
Fast Balloons
Great blog post! I love the idea of DIY balloon printing with EZScreens. I’m curious, can this method be used for creating Personalized Balloons with logos or names for events? Also, do you have any tips for ensuring the designs are vibrant and last on the balloons? Looking forward to your insights!