Menu
Screen Printed Sun & Moon Bisque Plate
Screen Printed Sun & Moon Bisque Plate
While we were at the ceramic studio, I felt bold enough to screen print a large bisque serving plate. I had just screen printed the mandala and abstract floral tiles (previous blog post) so I was feeling pretty confident. In this post, I will describe my process and some techniques that were discovered along the way.
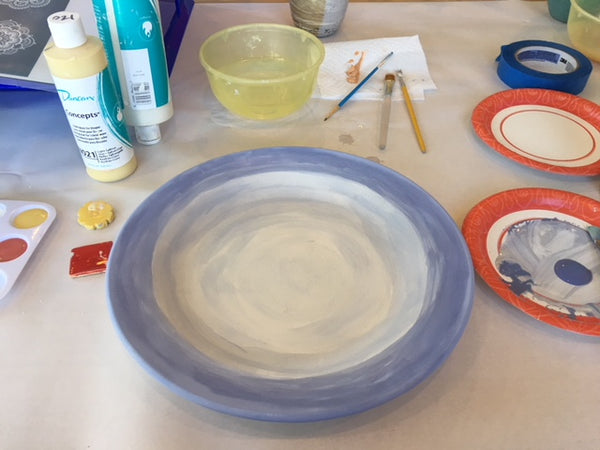
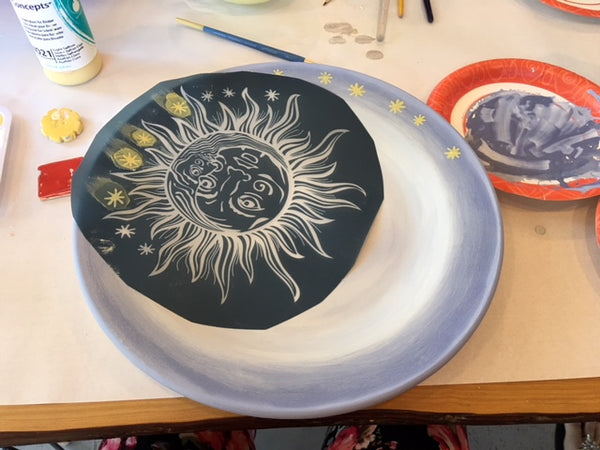
I started by painting the plate in an ombre style. I used a dark blue ceramic under-glaze slightly watered down and painted with a flat artist brush around the edges of the plate. As I got closer to the middle, I continuously added more white to the blue glaze. Three coats were applied.
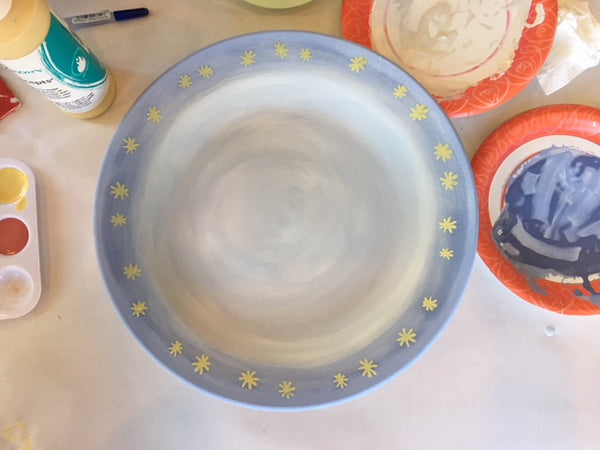
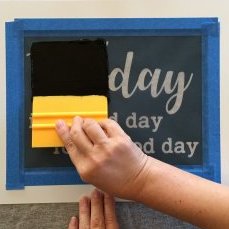
I cut the Sun & Moon Ready-To-Use stencil to better fit the plate. Using a yellow under-glaze, I screen printed the stars in the stencil around the edges.
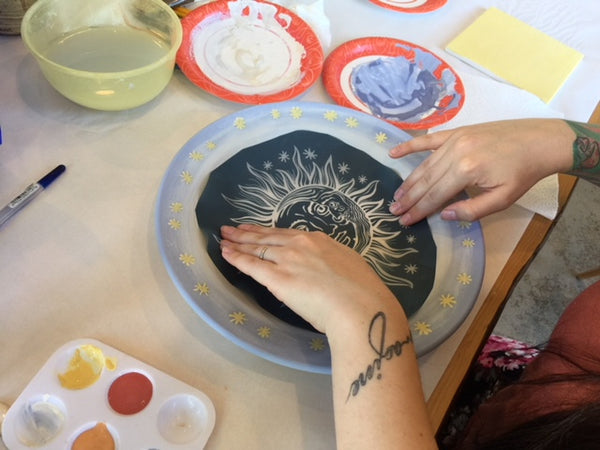
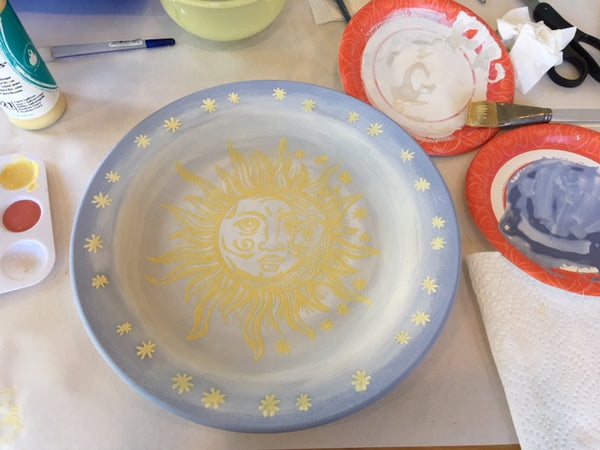
I positioned the stencil in the center of the plate, took a few deep breaths, and screen printed the design using the same yellow as applied to the edges.
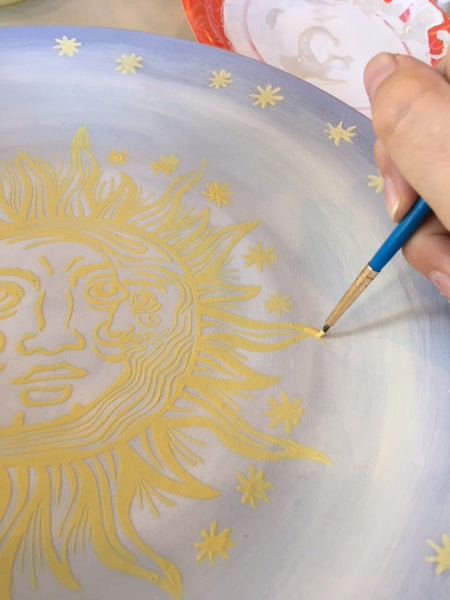
Because of the serving style of the plate, some areas of the design bled or smeared near the curves. Next time, I would use a flatter plate or a smaller version of the Sun & Moon design. I fixed some of the smeared areas using a fine artist brush.
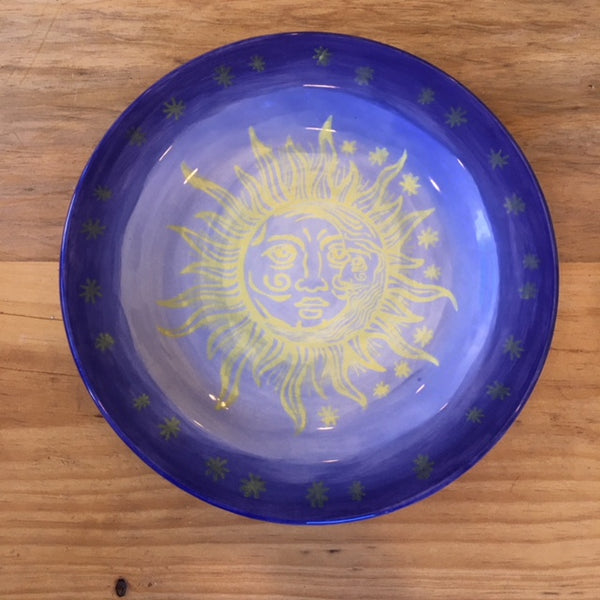
After 24 hours in a low fire kiln, my plate was ready to make its debut. I was extremely pleased! For a first timer, the piece surpassed my expectations, and the process was much easier than I imagined.
I learned that screen printing on bisque is very forgiving and extremely fun! We will be heading back to the ceramic studio to try printing on more things. I see a mug in my future!
- Choosing a selection results in a full page refresh.

3 comments
Patty Filyk
Can you use anything besides underglaze on the silkscreen ? I have mason stain that I mix up myself as well as various other glazes. I am wondering if I can use these glazes as well.
Laura Potter
Did you use silk screen medium in your underglaze?
Jens
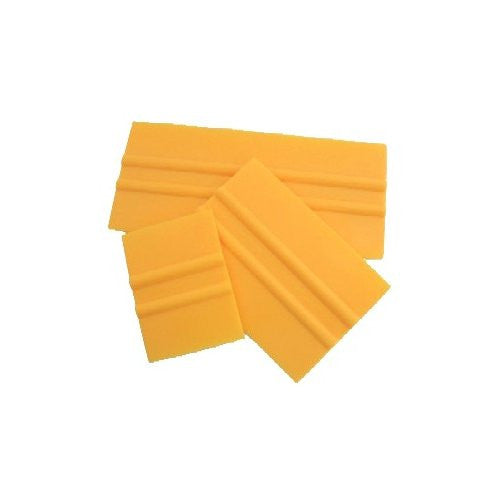
How do you applying the color? Do you use a squeegie or a brush?