Menu
Turning My 3-Year Old Niece's Drawings into a T-Shirt, and You Can Too!
There’s something magical about children’s doodles — their pure lines and unfiltered creativity. So, inspired by the charming imagination of my three-year-old niece, I decided to try transforming one of her simple drawing into a custom made-just-for-you shirt for her mom :)
Watch Me Turn My Nieces Doodles into a Silk Screen Stencil with this Video!
Where to start?
First, you're gonna need to get yourself a child. Next, you're going to want to gather the following items:
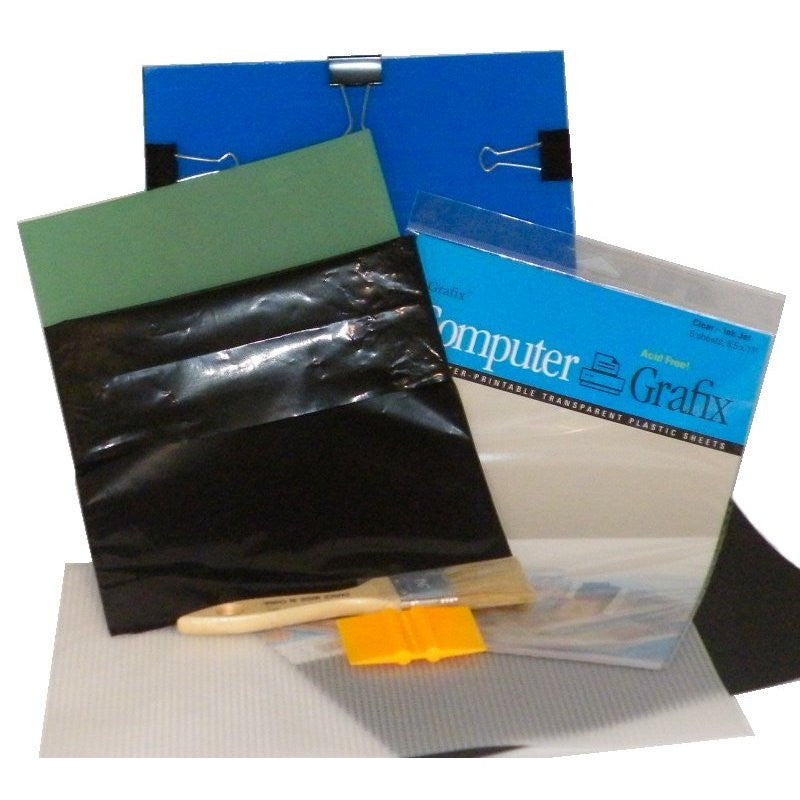
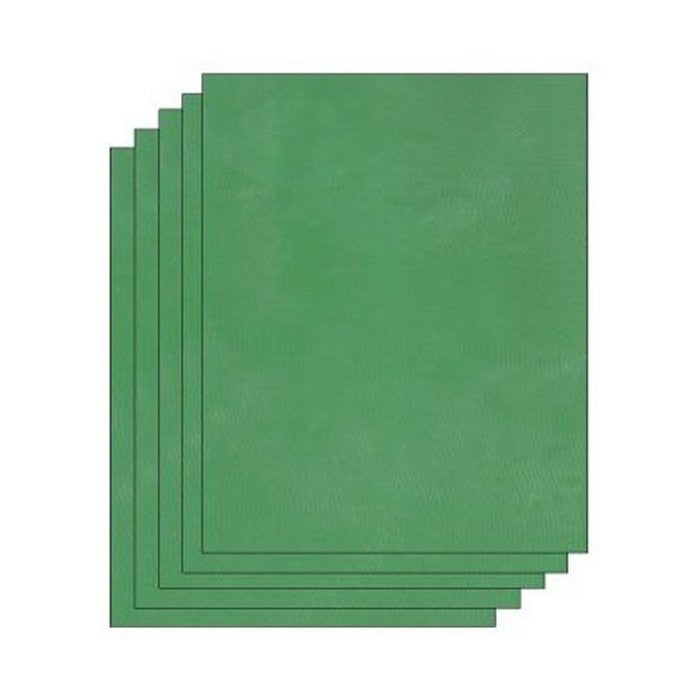
- EZScreen Stencil (If you're new, grab the starter kit! It gives you everything you need to make the stencil, plus 2 stencils!)
- Inkjet Transparency (Included in our kits)
- Acrylic Paint Marker (we have loved using Tesquio markers, and you can grab some by clicking the link provided :)
- Exposure light (Or sunlight if you are in an area that is nice and sunny)
- Tub of water (for rinsing the stencil)
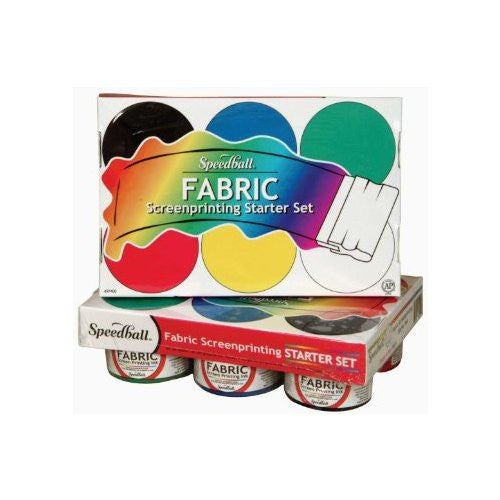
- Fabric Ink
- T-Shirt (Or something else! Our stencils work on fabric, glass, wood, ceramics, clay, metal, you name it. Just make sure you get the right ink for whatever you are printing on.)
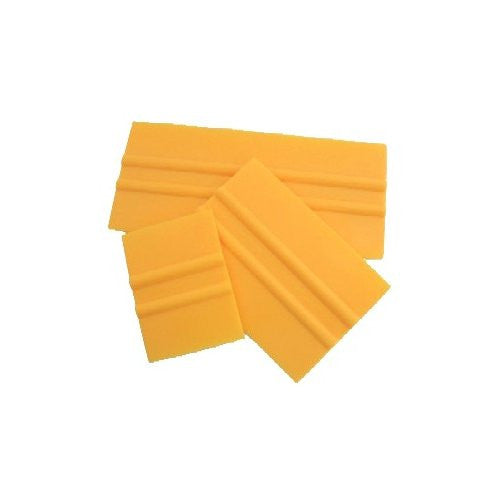
- Squeegee (included in the starter kit)
- Clothing Iron
Making the Stencil
We've got quite a few videos about making the stencils, so I'll keep it brief here.
Place the transparency image side down onto the EZScreen's shiny side, clip it into the exposure unit, and set it under an exposure light for 15 minutes, or out in direct sunlight for 60 seconds (we recommend using the test strips that come with our kits when doing sunlight. Even the slightest cloud cover or being later in the day will change the amount of time necessary for exposure!)
Once the stencil has exposure, remove the transparency, and set the stencil in some cool water away from sunlight. Let the stencil soak for approx. 10 minutes, and then brush away the extra goop to reveal your new silk screen stencil! Let the stencil dry, and then you are ready to print :)
Printing the Shirt
If you are only printing one shirt in this sitting, you can just use some painters tape or masking tape to secure the stencil, shiny side down, to whatever you are printing on. If you are wanting to print multiple shirts (which you totally can!) I recommend using one our our plastic frames. It makes it much easier to lift the stencil and transfer it to the next shirt.
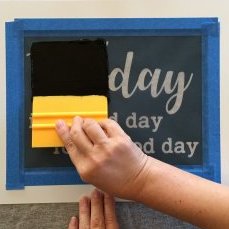
Once secured, place some fabric ink on one end of the stencil, and use your trusty squeegee to start pushing the ink through the stencil! Try to do as few passes as possible, with firm pressure.
Gently peel back the stencil (being careful not to drop any ink onto your shirt) and there you have it! Let the shirt dry, and then set the ink with a clothing iron. Have the iron set to the hottest setting the fabric type you are printing on can manage, and then refrain from washing the shirt for 1 week. After that you are good to go!
I had so much stinkin fun doing this project with my niece, and I hope y'all have a good time with it too! If you have any questions, feel free to reach out here, by email, or on any of our socials :) Happy Printing!
Learn More About Screen Printing at Home with EZScreens!
Make your own stencils with our screen printing starter kits!
- Choosing a selection results in a full page refresh.

