Menu
Using GR Pottery Forms and EZScreens for Slab Built Trays and Dishes!
Making Slab-Built Pieces Has Never Been Easier with GR Pottery Forms and EZScreen Stencils
I have to admit, I used to absolutely dread making slab-built pieces. The process always felt so intimidating and tedious. But recently, I’ve discovered two game-changing tools that have completely transformed how I approach slab building, and I’m excited to share my experience with you!
The first tool that made a huge difference is GR Pottery Forms. These forms come in a wide range of shapes and sizes, and they make the whole slab-building process so much easier. Whether you’re creating dishes, trays, or any other form, these tools allow you to shape your clay effortlessly. They’re incredibly easy to use, and the results are fantastic!
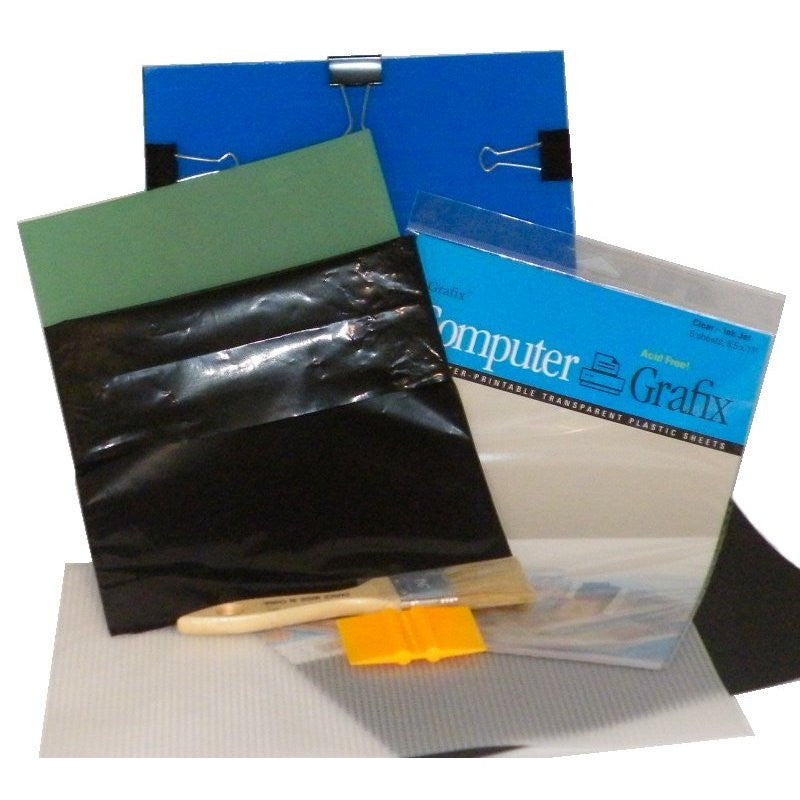
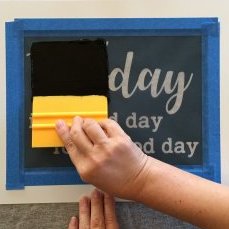
The second tool is of course EZScreen Stencils. We offer a variety of premade designs, or if you’re feeling creative, you can use a kit to turn your own designs into stencils. The best part is how easy it is to add intricate patterns and designs to your pieces – it’s adding that final touch to elevate your work.
So here’s how I used these tools to make a couple of beautiful slab-built dishes:
1. Prepare the Clay Slab: I started by rolling out and prepping my slab of clay, making sure it was the thickness I wanted. After that, I carefully cut out the shape of the form I wanted to use.


2. Shape the Clay: I placed the slab onto the GR Pottery Form and used a rubber rib to smooth and compress the clay into the form’s shape. Make sure to compress and smooth well, as that will help prevent warping later on.


3. Dry and Smooth the Edges: After the slab dried a little (about leather hard), I smoothed out the edges using a rasp and sponge. This gave the piece a refined, professional look.


4. Add the Design with EZScreen Stencil: Now for the fun part – adding the design! I grabbed my EZScreen stencil and placed it shiny side down onto the slab. Using my finger, I gently pushed some thickened underglaze (I thicken my underglaze using CMC powder!) through the stencil, making sure to fill every detail. Once the design was transferred, I peeled the stencil back, revealing the crisp, beautiful pattern! My underglaze probably could've been a little thicker, as you can see that it ran underneath the stencil in a couple spots. But, that is easy to clean up OR I can wipe it off and try again :) I personally didn't mind it so I kept it.


For a second dish, I decided to go a different route. I printed the underglaze directly onto the slab first, letting it dry so it wouldn’t smudge. Then, I compressed the clay over the GR Pottery Form, ensuring that the underglaze was printed all over the inside of the piece. This method created a gorgeous, printed design that covered every inch of the dish!


Before discovering GR Pottery Forms and EZScreen Stencils, slab building was honestly the bane of my existence. But with these two tools, the process has become so easy and enjoyable. If you’re looking to elevate your slab-building game, I highly recommend giving them a try!

What do you think? Have you tried these tools before? I’d love to hear your thoughts and experiences in the comments!
- Choosing a selection results in a full page refresh.

