Menu
Wood Burning with EZScreens? It's EZ!
Join us on a creative adventure with wood and fire (or rather heat, but you get the idea)! This time around, we're diving into the world of pyrography, but with a twist. Here's a little video on how a simple turtle design found its way burned into wood, using an EZScreen stencil and some clever torch paste magic.
Watch the Video:
What you need:
- Torch Paste (Amazon Link)
- Repositionable (Tacky) Spray (Amazon link)
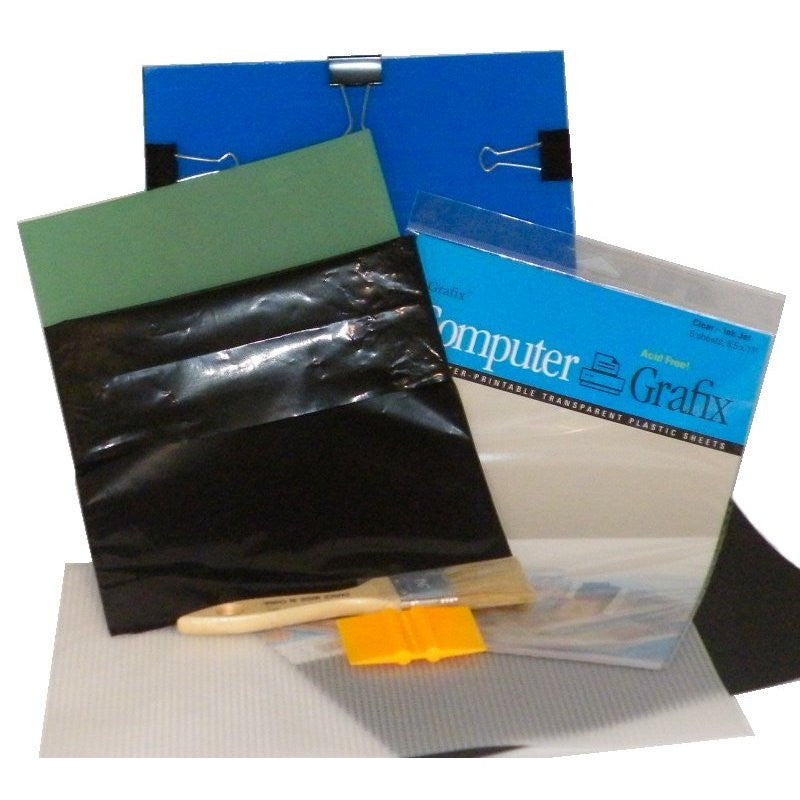
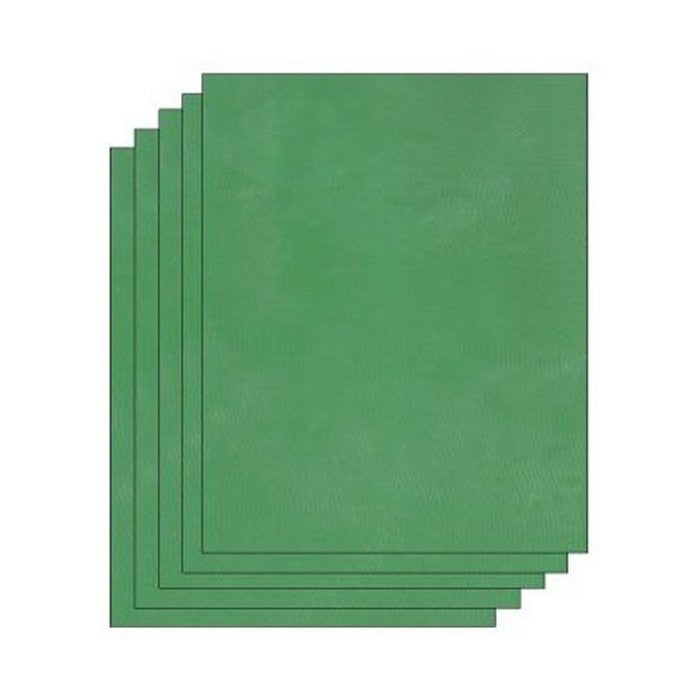
- EZScreen Stencil (Make your own, or grab one of our Ready-to-Use stencils!)
- Wood
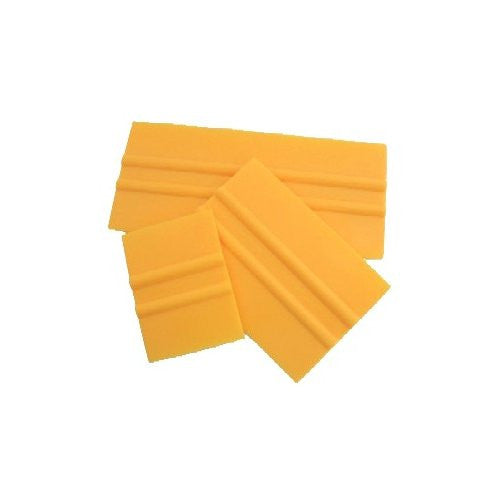
- Squeegee (these come in our starter kits, or you can grab an individual one here)
- Plastic Spoon
- Heat gun
- Gloves (safety first!)
- A well ventilated work area
The Low Down:
Starting with the basics, a repositionable spray helped to secure the stencil firmly onto the wood. While the spray isn't super necessary if you have smaller designs, it helps A LOT in making sure that you don't accidentally lift the stencil while you're squeegee-ing.
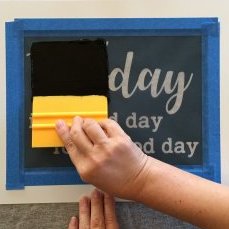
I used a plastic spoon to scoop the Torch Paste onto my stencil, and then started squeegee-ing my heart out! Slow and steady wins the race; you don't want the torch paste where it shouldn't be. So, a careful application with a squeegee is crucial.
Next, gently peel off the stencil, and then grab the heat gun! The heat gun (a hot hair dryer may work as well?) is the wand that brings the piece to life, making the torch paste transform into a stunning burnt image right before your eyes. Remember, ventilation is your friend during this part; safety always comes first.
This isn't just about creating something pretty; it's about the thrill of trying something new, of finding beauty in simplicity, and the joy of sharing it with you. What are your thoughts on this wood-burning technique? Would you give it a try? Let's start a conversation and share our experiences with this enchanting craft!
- Dallin
-----
Learn More About Screen Printing at Home with EZScreens!
Make your own stencils with our screen printing starter kits!
- Choosing a selection results in a full page refresh.

4 comments
Dallin EZScreenPrint
Hey Susie! The stencil is easily cleaned by just rinsing it gently in the sink :) you can use the washout brush that comes in the starter kits!
Karen cadorette
I’ve used something similar to this,it was fun and so easy to do.I love try new crafts.
Susie Coleman
How is the stencil cleaned after use and can tge stencil be reused before cleaning
Ellen H
How cool!!! Can’t wait to try it!!