Menu
Project Gallery - St. Patrick's Day Wood Sign
Project Gallery
EZScreen DIY Screen Printed St. Patrick's Day Wood Sign
I'm excited to show you a St. Patrick's Day project "how-to" tutorial!

Firstly, I created a design based on a St. Patrick's Day blessing using Microsoft Word. Once I formatted it to fit the wood surface it would be transferred on, I printed it on transparency film and made the stencil. While the stencil was soaking in water, I prepped my area and started painting the piece of wood.
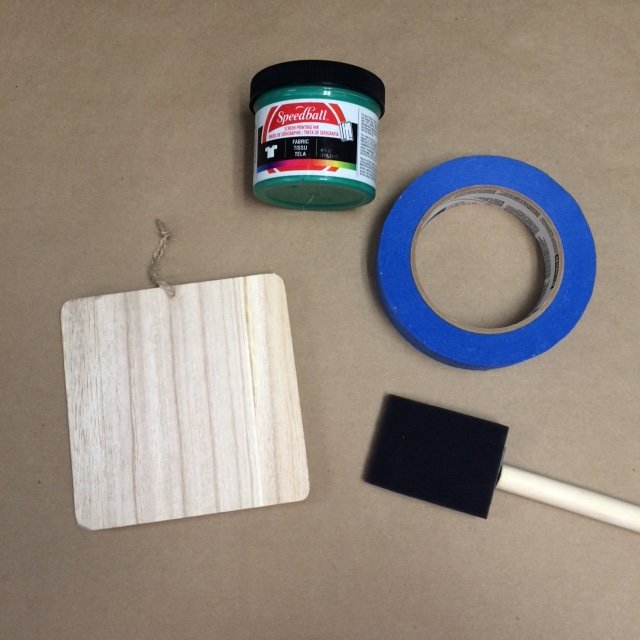
I covered my work area with brown protective paper. I gathered Speedball green screen printing ink, blue painters tape, and a foam brush.

I applied blue painters tape to the twine to protect it from getting painted green. (This step is not necessary if the wood piece did not include a twine hanger)

Using the foam brush and green Speedball ink, I painted the piece of wood.

Using the roll of blue painters tape as a prop, I painted all 4 sides of the wood piece. I allowed the ink to dry for about 30 minutes.

Here is a look at the stencil I created. I actually put two different designs on one 8.5"x11" EZScreen stencil.

I then cut the stencil to make two different screen print stencils.

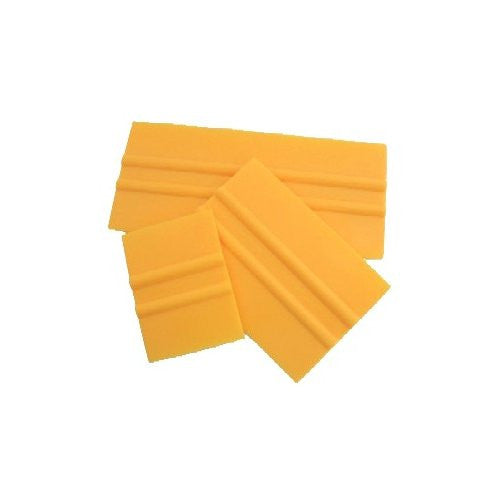
I prepped my work area, and got a jar of white Speedball screen printing ink and a 2" squeegee.
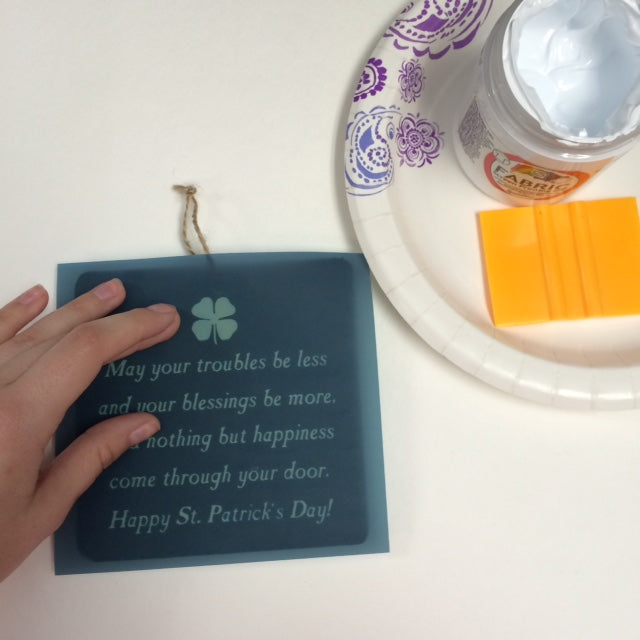
I aligned the stencil on top of the wood piece.

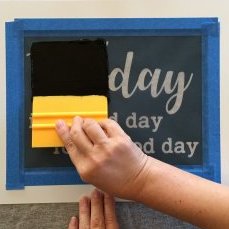
I loaded the squeegee with white ink, and spread it evenly over the stencil.
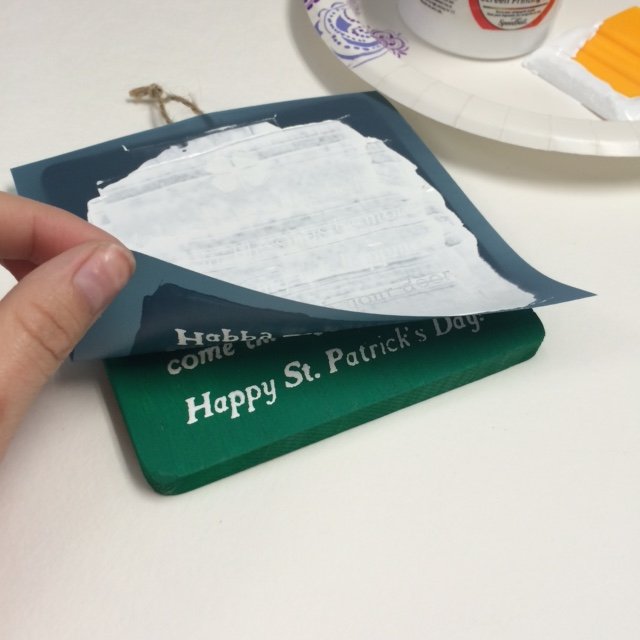
I lifted the corners to make sure the ink went all the way through the stencil. If there were any voids, I would lay the stencil back down and go over that area again with ink.
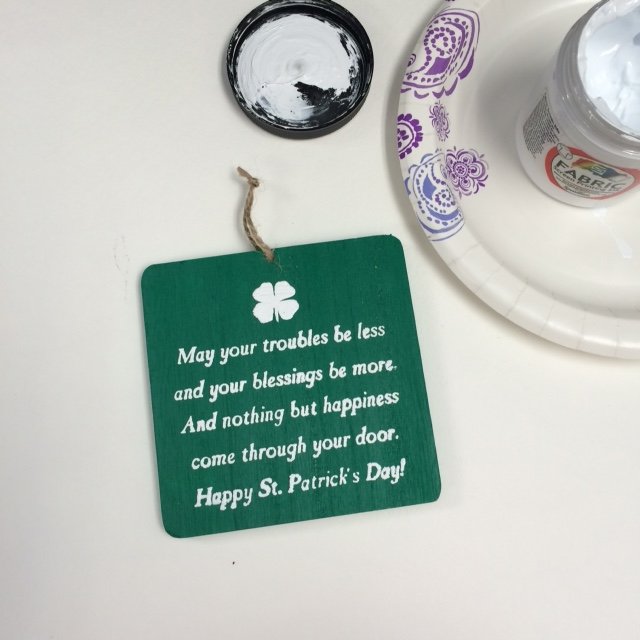
I removed the stencil and washed it off immediately with water. I noticed the surface of the wood was very textured, so the words did not come out as crisp as I had hoped.

With a fine artist brush, I went over the design with green ink, to clean up any rough edges.
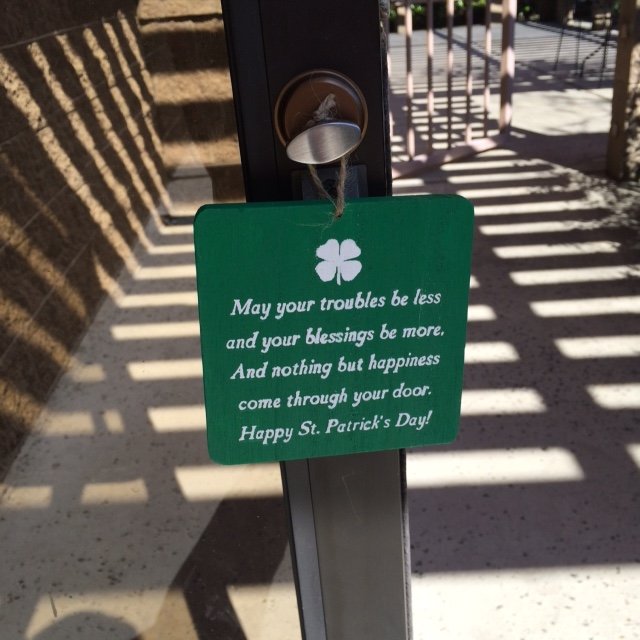
Wallah! I hung the sign by the front door as a St. Patrick's Day greeting sign!
- Choosing a selection results in a full page refresh.

