


DIY Silk Screen Printing On Wood
Here is a quick and easy how-to for printing directly onto wood. All materials and techniques will be provided throughout the tutorial.
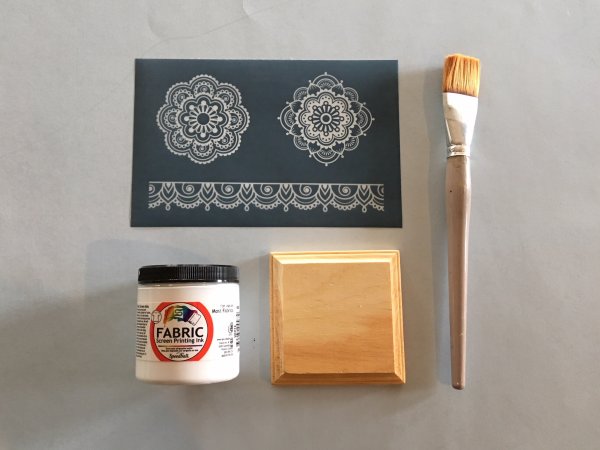
I started by gathering all the materials needed, and for this project, it isn't much!
Mandalas & Mehndi Lace ready-to-use silk screen stencil, medium size
Speedball screen printing ink, white
4"x4" wood coaster (with a 3.25"x3.25" printing surface) purchased at a local craft store
1" artist brush
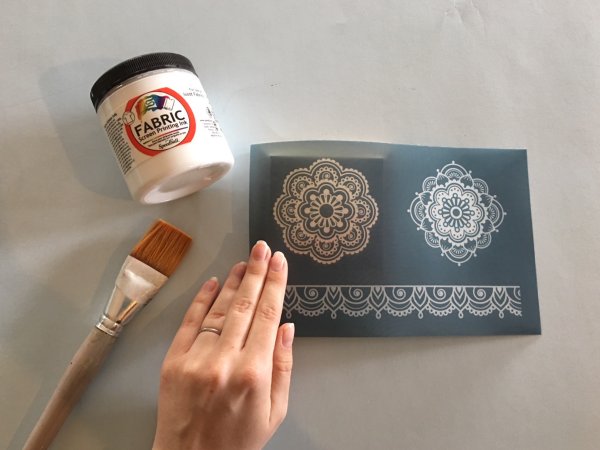
The silk screen stencil was positioned over the wooden coaster. The stencil designs can be cut into individual pieces, but I kept the stencil intact. Blue painters tape can be used to hold down one side or all four sides depending on the type of surface. For this project, I simply held the stencil in place while spreading the ink. It did not move or shift.
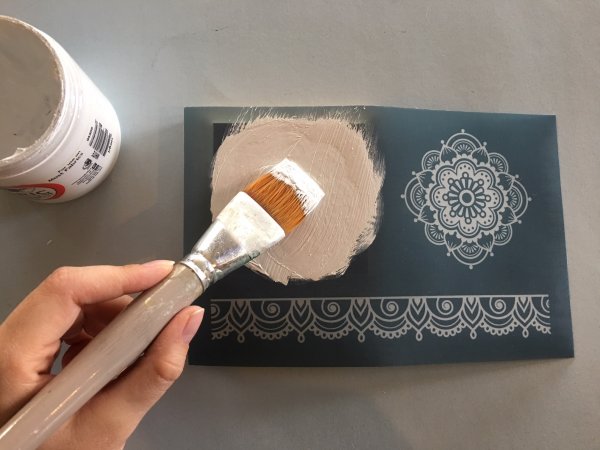
The brush was dipped into the Speedball ink jar, and applied to the top of the stencil. The stencil was held down by one hand while the other applied the screen printing ink (but I had to borrow one hand to take the picture).
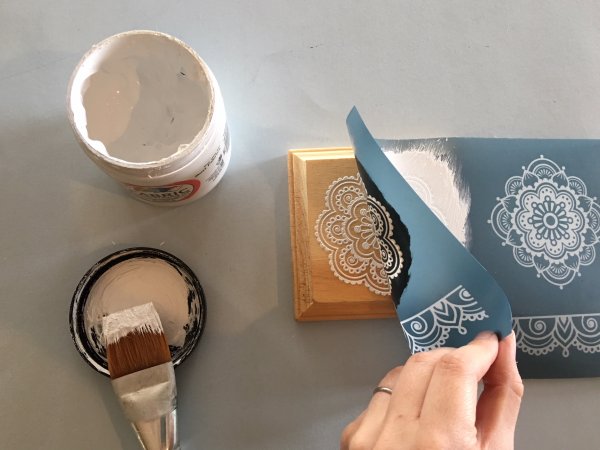
Once the ink was spread evenly over the stencil, I lifted up the stencil slightly to check for any voids. The ink passed through perfectly so the stencil was lifted completely off and placed in water.
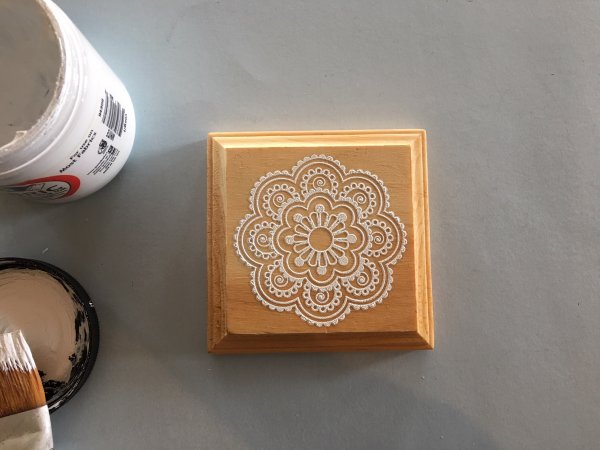
Voila! A super easy screen printing project on wood. It took less than 5 minutes from set-up to clean-up to finish this cute little coaster. Allow the ink to completely air dry (about an hour) and spray with a layer of clear coat to seal in the ink. This would be a great project for the "DIY bride" making wedding coasters or a great addition to home decor!
- Choosing a selection results in a full page refresh.